
本教程适用于以下操作系统版本
- Ubuntu 22.04(Jammy Jellyfish)
- Ubuntu 20.04(Focal Fossa)
本页内容
- 准备工作
- 添加 Jellyfin 软件源
- 安装 Jellyfin 服务器
- 生成 SSL/TLS 证书
- 将 Apache 配置为反向代理
- 配置 UFW 防火墙
- 安装 Jellyfin 媒体服务器
- 总结
Jellyfin 是一款免费、开源的媒体服务器软件,可让用户托管和管理个人媒体库,跨设备串流内容,并授权他人访问。它是专有媒体服务器的替代品,提供了高度的自定义能力与隐私控制。它可作为 Emby、Plex 等专有媒体文件服务器的替代方案。
在本指南中,我们将向你演示如何在 Ubuntu 22.04 上安装 Jellyfin 媒体服务器。你将使用 Apache 作为反向代理来部署 Jellyfin,并通过 Letsencrypt 提供的 SSL/TLS 证书为 Jellyfin 启用安全加密。
准备工作
在开始之前,请确保你已具备以下条件:
- 一台 Ubuntu 22.04 服务器。
- 一个具有 sudo 权限的非 root 用户。
- 一个已解析到服务器 IP 地址的域名。
添加 Jellyfin 软件源
首先,运行以下命令,为你的 Ubuntu 系统安装必要的依赖项,包括 software-properties-common、apt-transport-https、ca-certificates、gnupg 以及 curl。
sudo apt install software-properties-common apt-transport-https ca-certificates gnupg curl -y然后,运行以下命令,在你的 Ubuntu 机器上启用“universe”软件源。
sudo add-apt-repository universe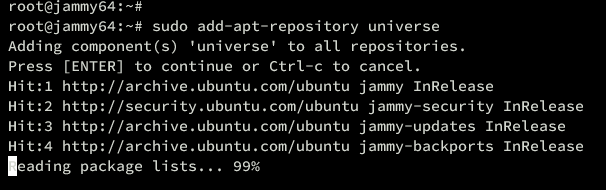
现在运行以下命令,创建新目录 /etc/apt/keyrings,并将 Jellyfin 软件源的 GPG 密钥下载到该目录中。
sudo mkdir -p /etc/apt/keyrings
curl -fsSL https://repo.jellyfin.org/jellyfin_team.gpg.key | sudo gpg --dearmor -o /etc/apt/keyrings/jellyfin.gpg
接下来,运行以下命令,将 Jellyfin 软件源添加到你的 Ubuntu 机器上。
cat <<EOF | sudo tee /etc/apt/sources.list.d/jellyfin.sources
Types: deb
URIs: https://repo.jellyfin.org/$( awk -F'=' '/^ID=/{ print $NF }' /etc/os-release )
Suites: $( awk -F'=' '/^VERSION_CODENAME=/{ print $NF }' /etc/os-release )
Components: main
Architectures: $( dpkg --print-architecture )
Signed-By: /etc/apt/keyrings/jellyfin.gpg
EOF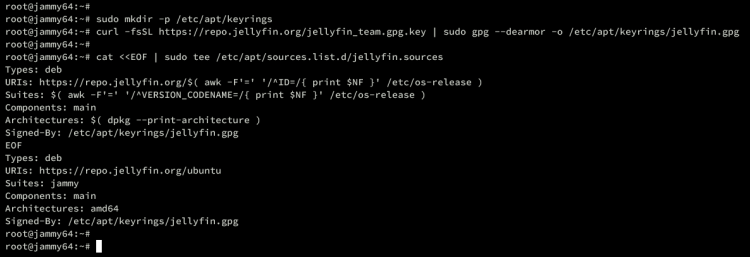
最后,使用以下命令更新并刷新 Ubuntu 系统的软件包索引。这将获取包括 Jellyfin 软件源在内的新软件包信息。
sudo apt update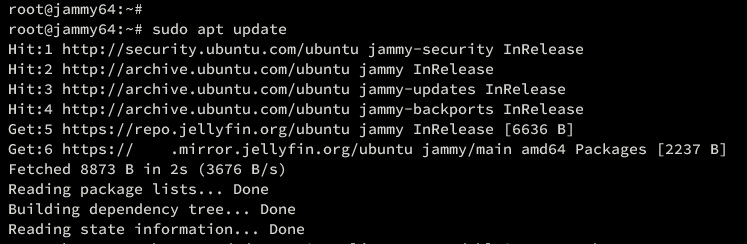
安装 Jellyfin 服务器
添加 Jellyfin 软件源后,你现在可以在 Ubuntu 服务器上开始安装 Jellyfin 了。
执行以下 apt 命令来安装 jellyfin 软件包。当系统提示时,输入 Y 以确认并继续。
sudo apt install jellyfin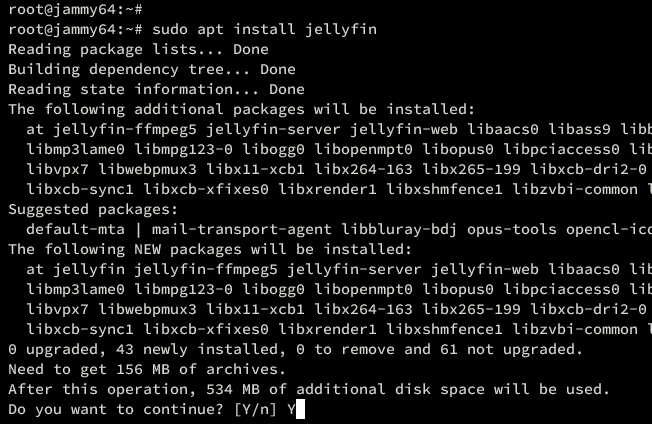
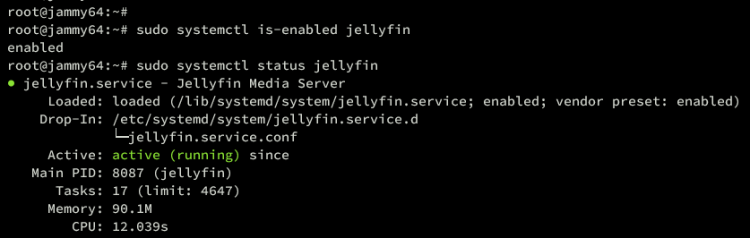
安装完成后,运行以下命令检查 jellyfin 服务,确保该服务已处于运行并已启用状态。
sudo systemctl is-enabled jellyfin
sudo systemctl status jellyfin
在以下输出中,你可以看到 Jellyfin 正在运行且已启用。
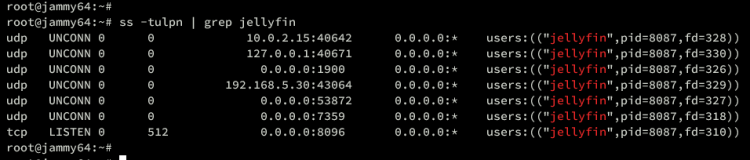
你也可以使用下面的 ss 命令,验证 Jellyfin 所占用的端口。
ss -tulpn | grep jellyfin你可以看到不同的端口:8096/tcp 用于 HTTP 流量,8920/tcp 用于 HTTPS 流量,1900/udp 和 7359/udp 用于服务自动发现。
生成 SSL/TLS 证书
在本指南中,你将使用 SSL/TLS 证书和 Apache 反向代理来加固 Jellyfin 的安装。现在,你将通过 Certbot 和 Letsencrypt 来生成 SSL/TLS 证书。
提示:如果你处于本地环境中,也可以使用自签名证书。但对于对外部署,请务必准备好你的域名,并将其解析到你的 Ubuntu IP 地址。
运行以下命令,将 Certbot 安装到你的 Ubuntu 系统。输入 Y 并按回车键继续。
sudo apt install certbot现在运行以下命令,创建新目录 /var/www/html。
mkdir -p /var/www/html最后,运行以下 certbot 命令,为你的 Jellyfin 域名生成 SSL/TLS 证书。请务必将邮箱地址和域名替换为你自己的信息。
sudo certbot certonly --agree-tos --email
[email protected]
 --no-eff-email --webroot -w /var/www/html -d media.howtoforge.local
所有流程完成后,你的 SSL/TLS 证书将保存在 /etc/letsencrypt/live/domain.com 目录中。
将 Apache 配置为反向代理
在本节中,你将安装并配置 Apache 网页服务器,将其作为 Jellyfin 的反向代理。我们开始吧。
首先,运行以下命令,将 Apache 网页服务器安装到你的系统中。
sudo apt install apache2 -y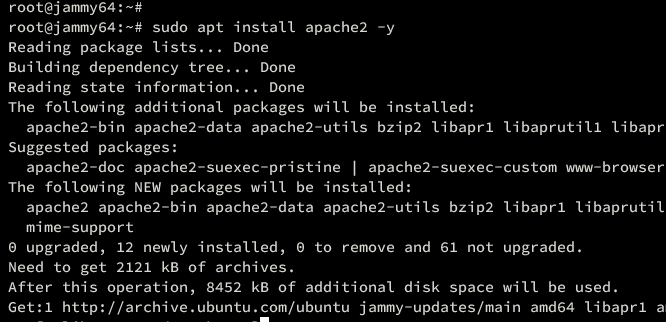
安装完成后,运行下面的 a2enmod 命令,启用安装所需的 Apache 模块。
sudo a2enmod proxy proxy_http ssl proxy_wstunnel remoteip http2 headers现在运行以下 nano 编辑器命令,新建一个 Apache 虚拟主机配置文件 /etc/apache2/sites-available/jellyfin.conf。
sudo nano /etc/apache2/sites-available/jellyfin.conf插入以下配置,为 Jellyfin 设置反向代理。请务必将域名和 SSL 证书路径替换为你自己的信息。
<VirtualHost *:80>
 ServerName media.howtoforge.local
 # Comment to prevent HTTP to HTTPS redirect
 Redirect permanent / https://media.howtoforge.local/
 ErrorLog /var/log/apache2/media.howtoforge.local-error.log
 CustomLog /var/log/apache2/media.howtoforge.local-access.log combined
</VirtualHost>
# If you are not using an SSL certificate, replace the 'redirect'
# line above with all lines below starting with 'Proxy'
<IfModule mod_ssl.c>
<VirtualHost *:443>
 ServerName media.howtoforge.local
 # This folder exists just for certbot(You may have to create it, chown and chmod it to give apache permission to read it)
 DocumentRoot /var/www/html/jellyfin/public_html
 ProxyPreserveHost On
 # Letsencrypt's certbot will place a file in this folder when updating/verifying certs
 # This line will tell Apache to not to use the proxy for this folder.
 ProxyPass "/.well-known/" "!"
 # Tell Jellyfin to forward that requests came from TLS connections
 RequestHeader set X-Forwarded-Proto "https"
 RequestHeader set X-Forwarded-Port "443"
 ProxyPass "/socket" "ws://192.168.5.30:8096/socket"
 ProxyPassReverse "/socket" "ws://192.168.5.30:8096/socket"
 ProxyPass "/" "http://192.168.5.30:8096/"
 ProxyPassReverse "/" "http://192.168.5.30:8096/"
 SSLEngine on
 SSLCertificateFile /etc/letsencrypt/live/media.howtoforge.local/fullchain.pem
 SSLCertificateKeyFile /etc/letsencrypt/live/media.howtoforge.local/privkey.pem
 Protocols h2 http/1.1
 # Enable only strong encryption ciphers and prefer versions with Forward Secrecy
 SSLCipherSuite HIGH:RC4-SHA:AES128-SHA:!aNULL:!MD5
 SSLHonorCipherOrder on
 # Disable insecure SSL and TLS versions
 SSLProtocol all -SSLv2 -SSLv3 -TLSv1 -TLSv1.1
 ErrorLog /var/log/apache2/media.howtoforge.local-error.log
 CustomLog /var/log/apache2/media.howtoforge.local-access.log combined
</VirtualHost>
</IfModule>
完成后保存并关闭文件。
接下来,运行以下命令启用虚拟主机配置文件 jellyfin.conf。然后检查你的 Apache 配置,确保语法正确无误。
sudo a2ensite jellyfin.conf
sudo apachectl configtest
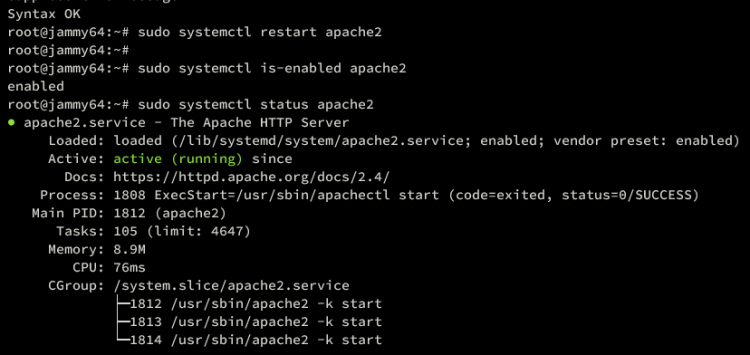
如果一切顺利,你应该会看到类似“Syntax OK(语法正确)”的输出。
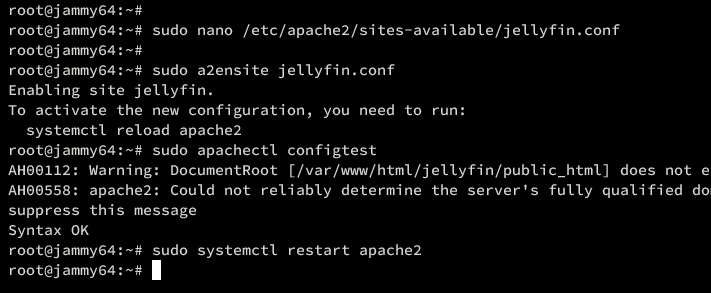
现在运行 systemctl 命令,重启 Apache 服务以使你的更改生效。
sudo systemctl restart apache2重启后,验证 Apache 服务,确保该服务已处于运行并已启用状态。
sudo systemctl is-enabled apache2
sudo systemctl status apache2
如果一切顺利,你应该会看到 Apache 在你的 Ubuntu 机器上已启用并正在运行。
配置 UFW 防火墙
Jellyfin 安装完成后,我们来配置 UFW 以加固你的安装。
首先,运行以下命令,开放 SSH、HTTP 和 HTTPS 端口。
sudo ufw allow OpenSSH
sudo ufw allow 'Apache Full'
现在使用以下命令,开放端口 1900/udp 和 7359/udp 用于自动发现。
sudo ufw allow 1900/udp
sudo ufw allow 7359/udp
接下来,运行以下命令启动并启用 UFW。输入 Y 进行确认。
sudo ufw enable最后,使用以下命令查看 UFW 上的端口与服务列表。
sudo ufw status你将看到 OpenSSH 和“Apache Full”配置文件已启用,并且端口 1900/udp 和 7359/udp 也已添加到 UFW 中。
安装 Jellyfin 媒体服务器
至此,所有依赖项都已配置完毕。你现在可以从网页浏览器访问你的 Jellyfin 安装。
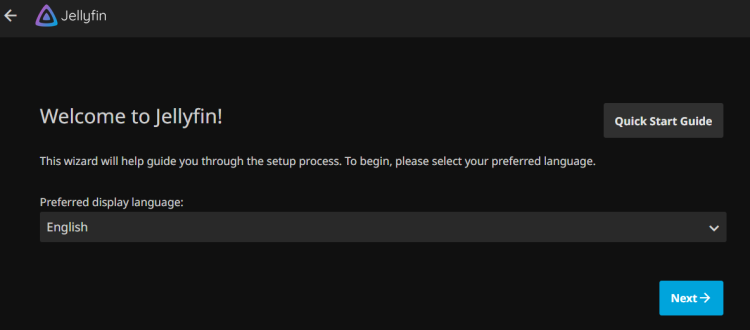
使用网页浏览器访问你的 Jellyfin 服务器域名(例如:https://media.howtoforge.local/)。你将看到 Jellyfin 的欢迎信息。
点击“下一步”继续。
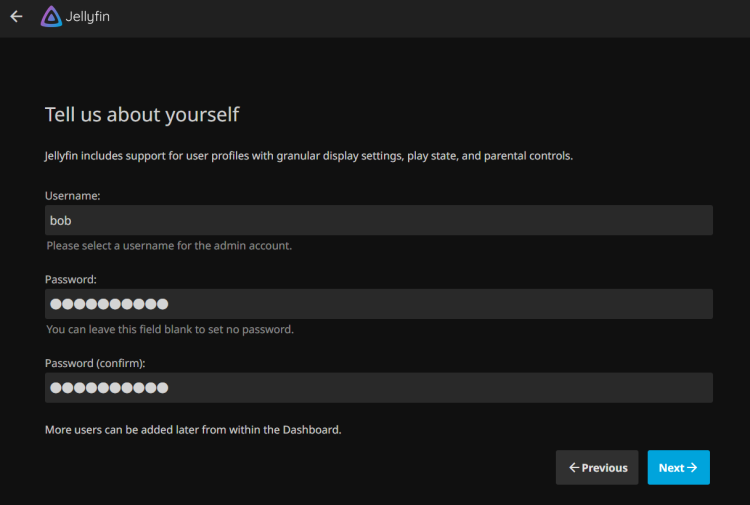
现在创建你的第一个 Jellyfin 用户,然后点击“下一步”。
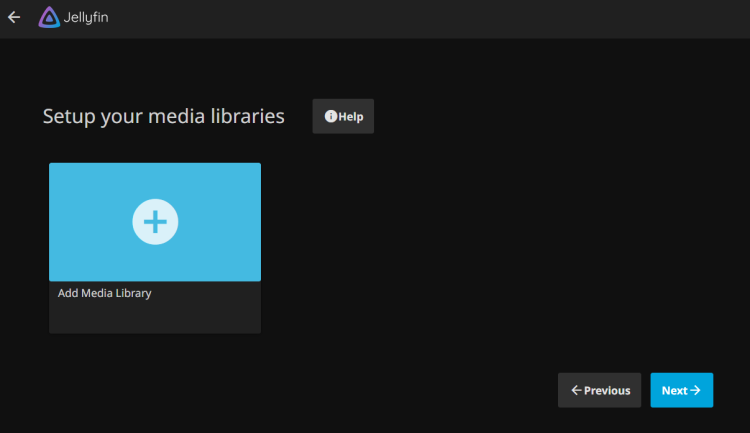
现在系统会提示你为 Jellyfin 设置媒体库,点击“下一步”跳过此步骤。你可以在配置完成后再进行设置。
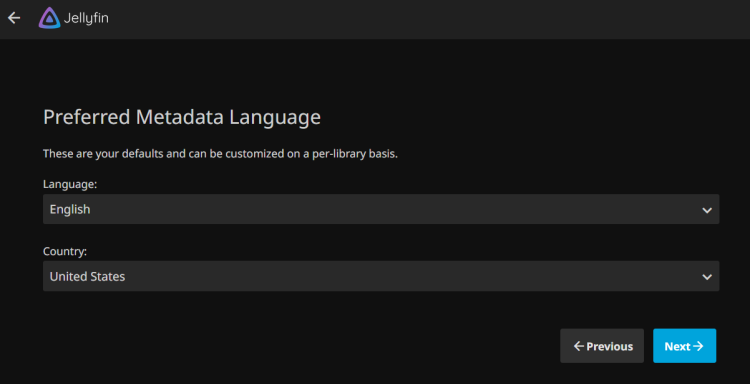
选择你偏好的元数据语言,然后再次点击“下一步”。
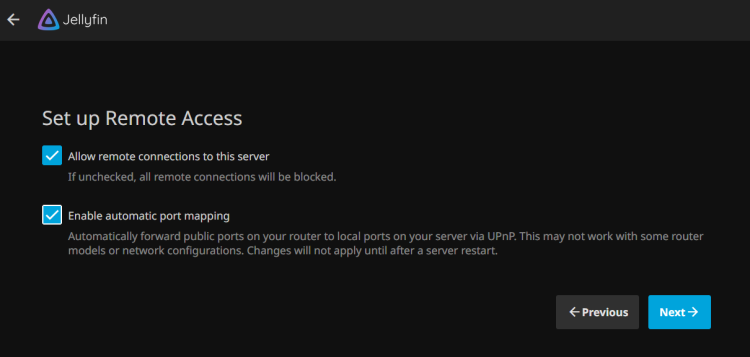
在“远程访问”部分,勾选“允许远程连接”和“自动端口映射”两个复选框,然后点击“下一步”确认。
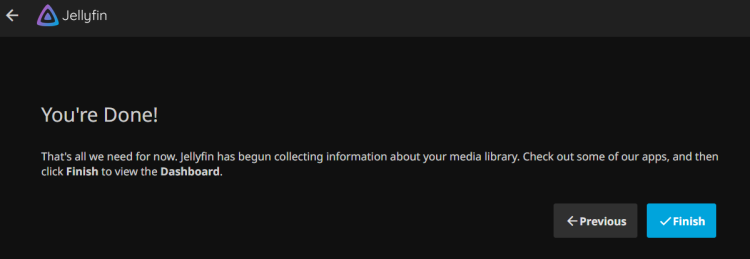
最后,点击“完成”以结束 Jellyfin 的安装。
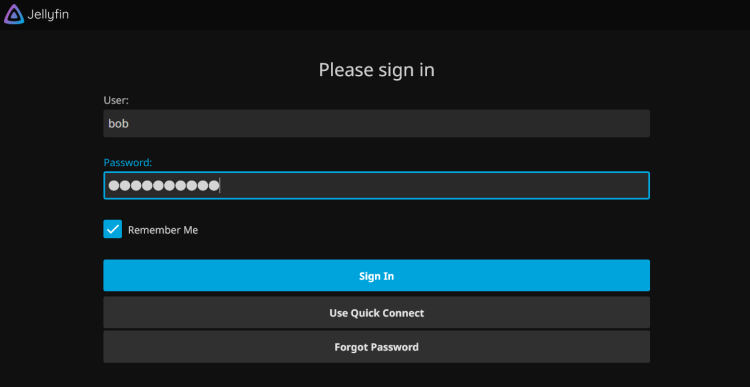
随后你将被重定向到 Jellyfin 登录页面。输入你的用户名和密码,然后点击“登录”。
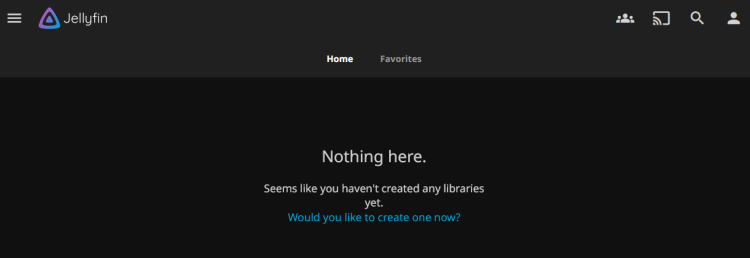
现在你将看到如下所示的 Jellyfin 仪表盘:
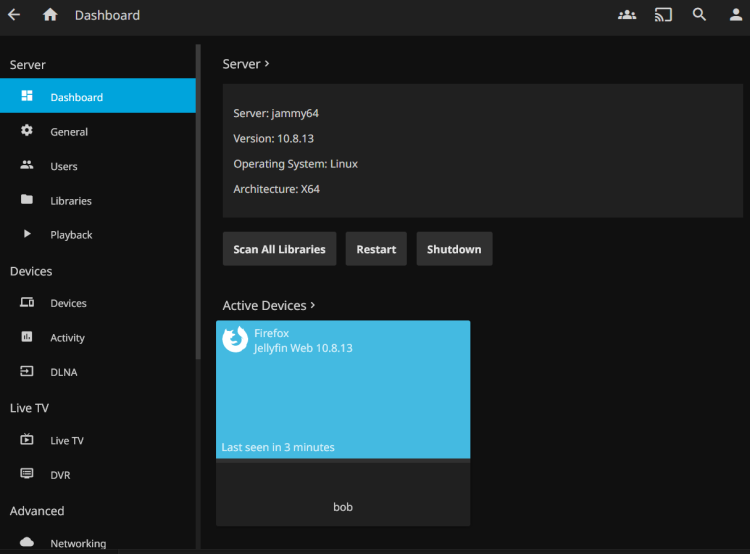
如果你点击“管理”菜单,将看到关于你的 Jellyfin 服务器的详细信息。在本示例中,你可以看到系统上已安装 Jellyfin xxx(版本号)。
总结
恭喜!你已成功在 Ubuntu 22.04 服务器上安装了 Jellyfin 媒体服务器。你还通过 Apache 反向代理以及来自 Letsencrypt 的 SSL/TLS 证书为 Jellyfin 启用了安全加固。从此以后,你就可以添加媒体文件库,并将你的媒体收藏存储在 Jellyfin 上了。