
本教程适用于以下操作系统版本
- Ubuntu 24.04(Noble Numbat)
- Ubuntu 20.04(Focal Fossa)
- Ubuntu 18.04(Bionic Beaver)
本页目录
- 准备工作
- 安装依赖项
- 配置 MariaDB 服务器
- 安装 Etherpad Lite
- 将 Etherpad 作为 systemd 服务运行
- 配置 Nginx 作为反向代理
- 使用 HTTPS 加固 Etherpad
- 访问 Etherpad
- 结语
Etherpad 是一款面向团队的开源、实时协作文本编辑器。由于它基于 Web,你可以随时随地访问使用。Etherpad 支持版本控制与内置格式编排,并借助各类插件提供高度可定制的编辑体验,同时还支持 doc、pdf、odt、markdown 等现代文档格式。
在本指南中,我们将带你一步步在 Ubuntu 24.04 服务器上安装 Etherpad 协作编辑器。你将使用 MariaDB 数据库服务器、以 Nginx 作为反向代理来部署 Etherpad,并通过 Certbot 和 Let's Encrypt 为 Etherpad 启用 HTTPS 加密。
准备工作
在开始本指南之前,请确保你已具备以下条件:
一台 Ubuntu 24.04 服务器;一个具有管理员权限的非 root 用户;一个已解析到服务器 IP 地址的域名。
安装依赖项
Etherpad 是一款使用 Node.js 编写的实时协作编辑器。要安装它,你必须先安装 Node.js、NPM、Git 等软件包依赖。此外,Etherpad 的数据库还需要 Python3 以及 MySQL/MariaDB 的支持。
首先,使用以下命令更新 Ubuntu 的软件源:
sudo apt update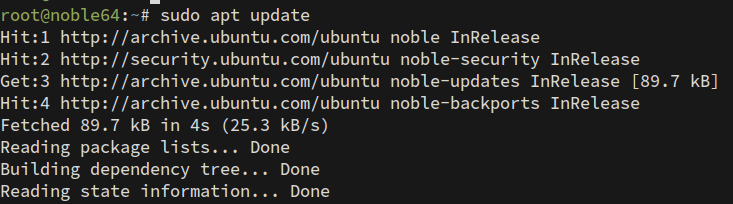
现在,使用以下命令安装 Etherpad 所需的依赖项。通过该命令,你将安装 MariaDB 服务器、Nginx、Node.js、Python3、Git 以及一些基础工具。
sudo apt install mariadb-server nginx nodejs npm gzip git curl python3 libssl-dev输入 Y 确认安装。
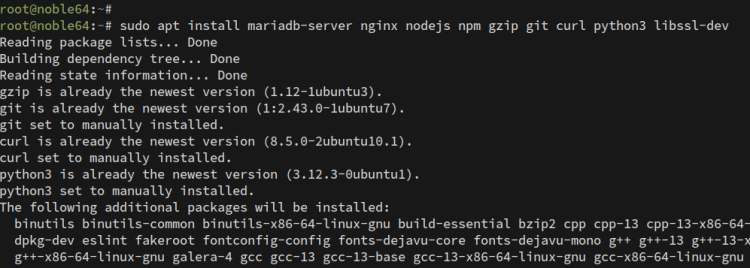
安装完成后,检查 MariaDB 与 Nginx 服务的状态,确保两者都已正常运行。
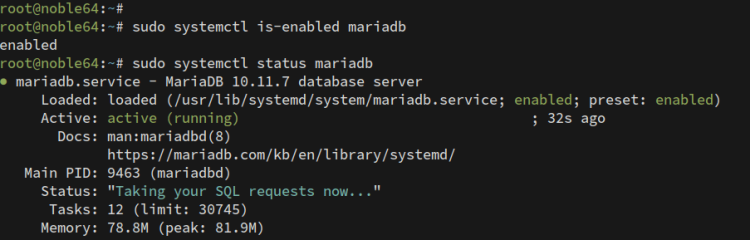
使用以下命令检查 MariaDB 服务:
sudo systemctl is-enabled mariadb
sudo systemctl status mariadb
如下图所示,MariaDB 服务正在运行,并且会在系统开机时自动启动。
现在使用以下命令检查 Nginx 服务。当 Nginx 服务正在运行且已启用时,你会看到类似的输出。
sudo systemctl is-enabled nginx
sudo systemctl status nginx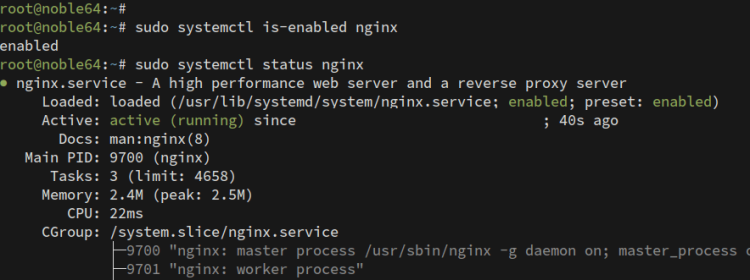
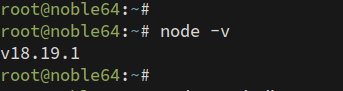
最后,使用以下命令检查 Node.js 版本。
node -v请确保你的 Node.js 版本为 v18.x 或更高。Etherpad 支持 Node.js v18 及以上版本。
配置 MariaDB 服务器
安装完依赖后,你将配置 MariaDB 服务器,并为 Etherpad 创建新的数据库和用户。你将使用 mariadb-secure-installation 工具加固 MariaDB 安全,然后通过 MariaDB 客户端创建数据库与用户。
要加固 MariaDB 服务器的安全,请执行以下命令:
sudo mariadb-secure-installation你将收到 MariaDB 服务器的安全配置交互提示:
- MariaDB 默认安装没有设置密码,在提示输入密码时直接按回车(ENTER)。
- 输入 Y 以设置 MariaDB root 密码,然后输入新密码并重复确认。
- 输入 Y 以移除 MariaDB 中的匿名用户。
- 当提示禁止 root 用户远程登录时,再次输入 Y。
- 输入 Y 以删除 MariaDB 中默认的 test 测试数据库。
- 最后,输入 Y 以重新加载权限表并使更改生效。
在加固并配置完 MariaDB 服务器后,你将为 Etherpad 创建新的数据库和用户。
使用以下命令登录 MariaDB 服务器,在提示时输入 MariaDB 的 root 密码。
sudo mariadb -u root -p接下来,执行以下 MariaDB 语句,创建名为 etherpad_db 的新数据库,以及用户 etherpad(密码为 StrongPasswordEtherpadDB)。你可以根据自己的实际情况调整这些数据库信息。
CREATE DATABASE etherpad_db;
CREATE USER etherpad@localhost IDENTIFIED BY 'StrongPasswordEtherpadDB';
GRANT CREATE,ALTER,SELECT,INSERT,UPDATE,DELETE on etherpad_db.* to etherpad@localhost;
FLUSH PRIVILEGES;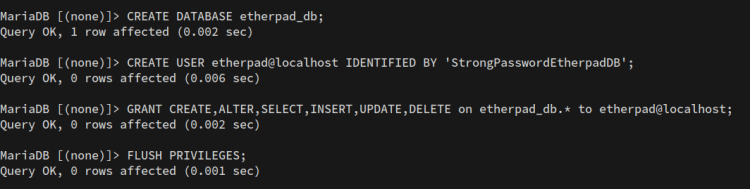
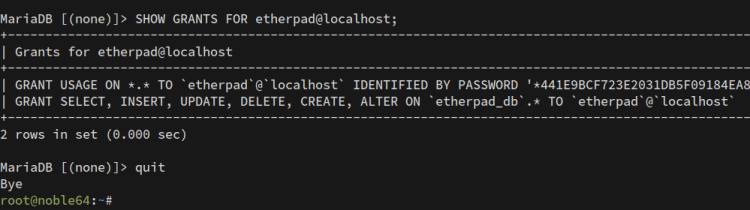
现在执行以下查询,确认用户 etherpad 能够访问数据库 etherpad_db。
SHOW GRANTS FOR etherpad@localhost;如下图所示,用户 etherpad 对数据库 etherpad_db 拥有多项权限。
最后,输入 quit 退出 MariaDB 服务器。
安装 Etherpad Lite
创建好数据库和用户后,你将下载 Etherpad 源代码,通过安装脚本安装其依赖项,然后将 Etherpad 与 MariaDB 服务器进行对接配置。
默认情况下,Etherpad 使用 pnpm 包管理器来管理安装,因此你必须先在系统中全局安装 pnpm。
首先,使用以下 npm 命令全局(-g)安装 pnpm 包。默认情况下,Etherpad 项目使用 pnpm 作为 Node.js 包管理器,而非标准的 npm。
npm install pnpm -g现在运行以下命令,创建新的系统用户 etherpad。该用户将用于运行 Etherpad 应用。
sudo adduser --system --no-create-home --home=/opt/etherpad-lite --group etherpad接下来,进入 /opt 目录,并使用 git 将 Etherpad 源代码下载到 etherpad-lite 目录。然后,将 /opt/etherpad-lite 目录的所属权更改为用户 etherpad。
cd /opt && git clone --branch master https://github.com/ether/etherpad-lite.git
sudo chown -R etherpad:etherpad /opt/etherpad-lite
随后,进入 opt/etherpad-lite 目录,并使用以下命令安装 Etherpad 所需的 Node.js 依赖。
cd /opt/etherpad-lite
sudo su -s /bin/bash -c "./bin/run.sh" etherpad
以下是使用 pnpm 包管理器下载 Etherpad 依赖的过程。
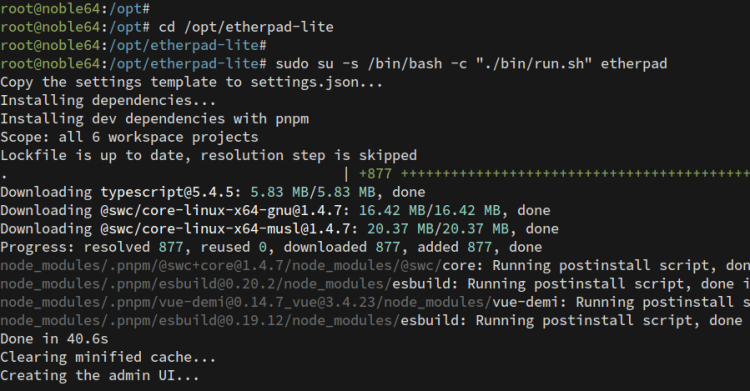
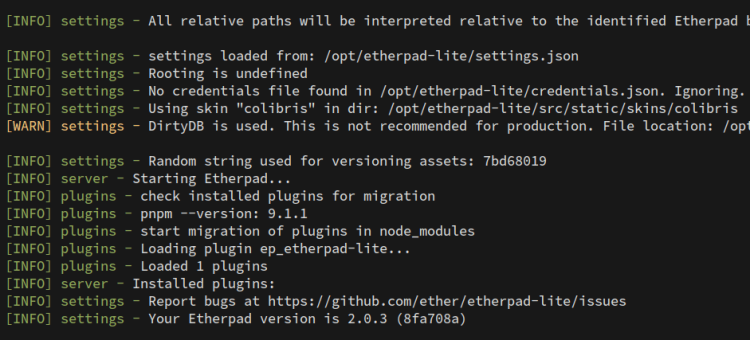
依赖安装完成后,Etherpad 应该会自动运行。如下图所示,Etherpad 2.0.3 正在运行中。
按 Ctrl+c 终止当前的 Etherpad 进程。接下来你将把 Etherpad 与 MariaDB 数据库进行配置对接。
现在使用 nano 编辑器打开 settings.json 文件。
nano settings.json修改你的 Etherpad 安装标题。
"title": "Etherpad Ubuntu 24",
将默认 IP 地址改为 12.0.0.1 或 localhost,这样 Etherpad 进程将仅监听本机。
```
 "ip": "127.0.0.1",
 "port": 9001,
```
按以下方式注释掉默认的 dirty 数据库配置:
 /*
 *"dbType": "dirty",
 *"dbSettings": {
 * "filename": "var/dirty.db"
 *},
 */
插入以下配置,以使用 MariaDB 服务器作为数据库。请务必将数据库信息替换为你自己的实际情况。
 "dbType" : "mysql",
 "dbSettings" : {
 "user": "etherpad",
 "host": "127.0.0.1",
 "port": 3306,
 "password": "StrongPasswordEtherpadDB",
 "database": "etherpad_db",
 "charset": "utf8mb4"
 },
完成后保存文件并退出编辑器。
将 Etherpad 作为 systemd 服务运行
在完成 Etherpad 的安装与配置后,你将为它创建一个新的 systemd 服务文件。这样可以在后台运行 Etherpad,并可通过 systemctl 命令对其进行管理。
使用 nano 编辑器为 Etherpad 创建新的 systemd 服务文件 /etc/systemd/system/etherpad.service。
sudo nano /etc/systemd/system/etherpad.service在文件中添加以下配置。这样,你将通过 pnpm 命令以 systemd 服务的方式在后台运行 Etherpad。
[Unit]
Description=Etherpad-lite, the collaborative editor.
After=syslog.target network.target mariadb.service
[Service]
Type=simple
User=etherpad
Group=etherpad
WorkingDirectory=/opt/etherpad-lite
ExecStart=/usr/local/bin/pnpm run prod
# use mysql plus a complete settings.json to avoid Service hold-off time over, scheduling restart.
Restart=always
[Install]
WantedBy=multi-user.target
保存文件并退出。
现在运行以下命令,重新加载 systemd 管理器并使 Etherpad 服务文件生效。
sudo systemctl daemon-reload重新加载 systemd 后,使用以下 systemctl 命令启动并设置 etherpad 服务开机自启。
sudo systemctl start etherpad
sudo systemctl enable etherpad
接下来,运行以下命令检查 Etherpad 服务状态,确保其正在运行。
sudo systemctl status etherpad如下图所示,Etherpad 服务正在以服务方式运行。
最后,使用以下 ss 命令检查 Etherpad 默认的 9001 端口。你应该能看到 9001 端口正被 Etherpad 进程占用。
ss -tulpn | grep 9001配置 Nginx 作为反向代理
在本指南中,你将使用 Nginx 作为反向代理来运行 Etherpad。因此,现在你需要为 Etherpad 创建 Nginx 的 server block 配置,并确保已为其准备好域名。
使用以下 nano 编辑器命令创建新的 Nginx server block 配置文件 /etc/nginx/sites-available/etherpad.conf。
sudo nano /etc/nginx/sites-available/etherpad.conf添加以下配置,并将 server_name 选项替换为你自己的域名。通过该配置,Nginx 将作为运行在 9001 端口的 Etherpad 的反向代理。
```
server {
 listen 80;
 server_name etherpad.howtoforge.local;
 access_log /var/log/nginx/eplite.access.log;
 error_log /var/log/nginx/eplite.error.log;
location / {
 proxy_pass http://127.0.0.1:9001;
 proxy_buffering off; # be careful, this line doesn't override any proxy_buffering on set in a conf.d/file.conf
 proxy_set_header Host $host;
 proxy_pass_header Server;
# Note you might want to pass these headers etc too.
 proxy_set_header X-Real-IP $remote_addr; # https://nginx.org/en/docs/http/ngx_http_proxy_module.html
 proxy_set_header X-Forwarded-For $remote_addr; # EP logs to show the actual remote IP
 proxy_set_header X-Forwarded-Proto $scheme; # for EP to set secure cookie flag when https is used
 proxy_http_version 1.1; # recommended with keepalive connections
# WebSocket proxying - from https://nginx.org/en/docs/http/websocket.html
 proxy_set_header Upgrade $http_upgrade;
 proxy_set_header Connection "upgrade";
 }
}
完成后保存并关闭文件。
现在运行以下命令,启用 etherpad.conf 这个 server block 文件,并验证 Nginx 配置语法。
sudo ln -s /etc/nginx/sites-available/etherpad.conf /etc/nginx/sites-enabled/
sudo nginx -t
若 Nginx 语法正确,你会看到类似于 nginx is ok...test is successful 的输出。
最后,运行以下命令重启 Nginx 服务以应用新的 server block。执行后,你的 Etherpad 就可以通过 Nginx 服务器访问了。
sudo systemctl restart nginx使用 HTTPS 加固 Etherpad
配置好 Nginx 反向代理后,你将通过 HTTPS 加固 Etherpad。如果你使用的是公网域名,可以按照以下步骤通过 Certbot 和 Let's Encrypt 配置 HTTPS;本地域名用户则可使用自签名证书。
使用以下命令安装 Certbot 及 Certbot 的 Nginx 插件。当提示时,输入 Y 确认安装。
sudo apt install certbot python3-certbot-nginx现在运行以下 certbot 命令,从 Let's Encrypt 申请 SSL/TLS 证书。请务必将域名和邮箱替换为你自己的信息。
sudo certbot --nginx --agree-tos --redirect --hsts --staple-ocsp --email
[email protected]
 -d etherpad.howtoforge.local
完成流程后,你的证书将保存在 /etc/letsencrypt/live/domain.com 目录中。同时,借助 Certbot 的 Nginx 插件,你的 Etherpad 应当已自动以 HTTPS 方式运行。
访问 Etherpad
访问你的 Etherpad 域名 https://etherpad.howtoforge.local 即可打开 Etherpad 安装页面。若成功,你将看到如下页面:
输入你第一个 pad(文档)的名称,然后点击 OK 确认。

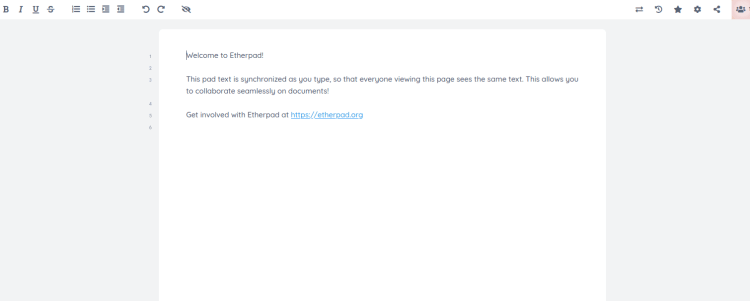
现在你会看到 Etherpad 的文档编辑器。你可以与好友或同事同时编辑同一篇文档。
结语
恭喜!你已成功在 Ubuntu 24.04 服务器上安装了 Etherpad 协作编辑器。现在 Etherpad 已基于 MariaDB 数据库服务器和 Nginx Web 服务器运行,并且通过 Certbot 和 Let's Encrypt 启用了 HTTPS 加密。