
本页内容
- 准备工作
- 安装 Consul
- 配置 UFW 防火墙
- 创建 Consul 集群
- 与 Consul 交互
- 访问 Consul Web 管理界面
- 总结
Consul 是一个现代化的服务发现平台,允许你通过 DNS 和 HTTP 接口注册服务。它还提供了一项服务网格(Service Mesh)功能,可通过 TLS 实现安全连接,并提供服务之间的授权机制。
除此之外,Consul 还提供了一个用于管理服务访问的 API 网关,以及一个用于存储服务配置的 KV(键值,Key/Value)存储。
在本教程中,我将向你演示如何在 Ubuntu 22.04 服务器上安装 Consul 集群。
准备工作
在开始之前,请确保你拥有 3 台 Ubuntu 22.04 服务器,且它们可以通过内网相互通信。同时,请确认你在每台服务器上都拥有 root 权限。
现在让我们开始吧。
安装 Consul
Consul 是由 HashiCorp 开发的免费开源服务发现工具。它支持大多数 Linux 发行版,包括 Debian/Ubuntu 以及 RHEL/CentOS 系列发行版。
在本节中,你将通过 Consul 官方的 Ubuntu 软件源,将 Consul 安装到你的 Ubuntu 系统中。
在开始之前,请运行以下命令,为系统安装一些基础依赖。输入 y 以继续安装。
sudo apt install apt-transport-https gnupg curl wget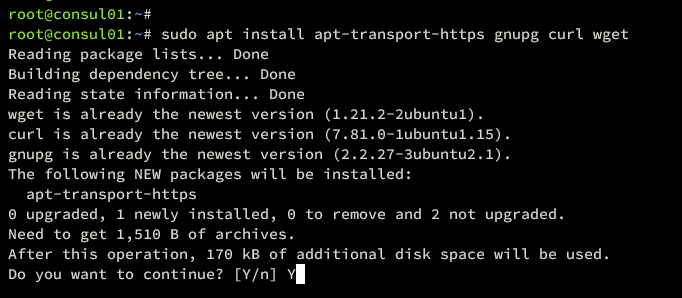
现在运行以下命令,添加 Consul 软件源的 GPG 密钥。
wget -O- https://apt.releases.hashicorp.com/gpg | sudo gpg --dearmor -o /usr/share/keyrings/hashicorp-archive-keyring.gpg然后使用以下命令添加适用于 Ubuntu 的 Consul 软件源。
echo "deb [signed-by=/usr/share/keyrings/hashicorp-archive-keyring.gpg] https://apt.releases.hashicorp.com $(lsb_release -cs) main" | sudo tee /etc/apt/sources.list.d/hashicorp.list接下来,使用以下命令更新并刷新你的 Ubuntu 软件包索引。
sudo apt update
软件源更新完成后,使用以下 apt 命令安装 Consul。出现提示时,输入 y 以继续并确认安装。
sudo apt install consul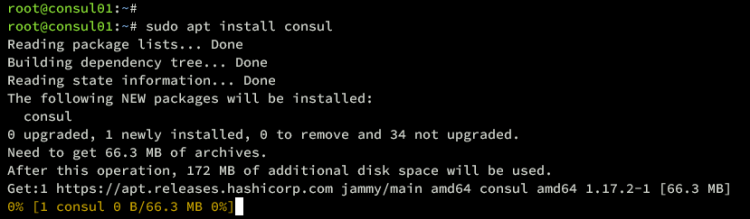
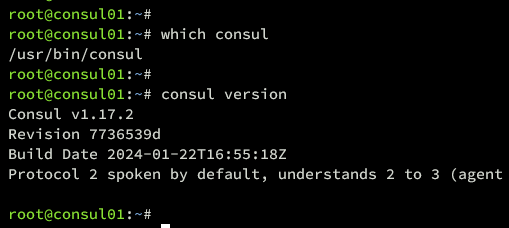
安装完成后,运行以下命令来验证 Consul 二进制文件及版本。
which consul
consul version
如下所示,Consul 1.17.2 已安装到 /usr/bin/consul 路径下。
配置 UFW 防火墙
在部署 Consul 集群之前,你需要通过 UFW 开放 Consul 将要使用的端口。大多数 Ubuntu 系统预装了 UFW 软件包,但默认尚未启用。
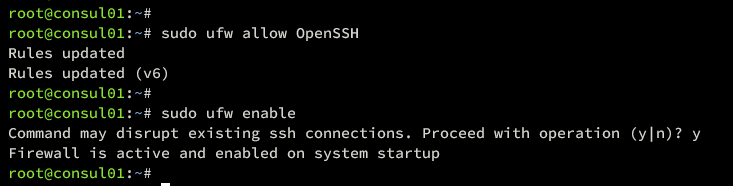
要启动 UFW,请运行以下 ufw 命令。该操作会启用 OpenSSH 配置档(将开放默认的 SSH 端口 22),随后启动并启用 UFW。
sudo ufw allow OpenSSH
sudo ufw enable
输入 y 进行确认,你将看到类似以下提示:
接下来,你需要为 Consul 开放 TCP 端口 8300、8301、8302、8400、8500 和 8600。
在你的所有 Ubuntu 系统上运行以下命令,开放上述端口。
for i in 8300/tcp 8301/tcp 8302/tcp 8400/tcp 8500/tcp 8600/tcp
do sudo ufw allow $i
done
最后,运行以下命令验证 Ubuntu 服务器上的 UFW 状态。你将看到 UFW 状态为 active,并开放了端口 8300、8301、8302、8400、8500 和 8600。
sudo ufw status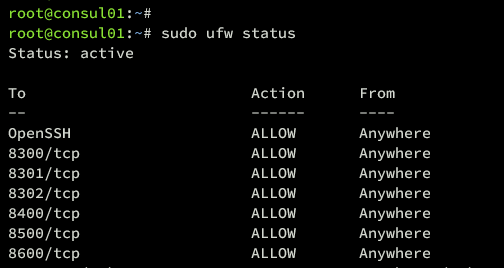
创建 Consul 集群
配置好 UFW 之后,下一步是创建 Consul 集群。这可以通过在 /etc/consul.d/ 目录下新建一个 HCL 配置文件来完成。
在开始之前,请运行以下命令停止 consul 服务。这样可以确保在进行配置之前 Consul 已停止运行。
sudo systemctl stop consul
现在在 consul1 服务器上运行以下命令,为 Consul 生成一个随机密钥。该密钥需要分发到所有 Consul 服务器,因此请务必复制生成的密钥。
consul keygen现在在所有 Consul 服务器上创建新的 Consul 配置文件 /etc/consul.d/consul.hcl。在本示例中,我们将使用 nano 编辑器命令。
sudo nano /etc/consul.d/consul.hcl修改默认的 Consul 配置,并务必按需调整以下部分的值:
# Full configuration options can be found at https://www.consul.io/docs/agent/config
# datacenter
datacenter = "my-dc-1"
# data_dir
# This flag provides a data directory for the agent to store state.
data_dir = "/opt/consul"
# client_addr
# The address to which the Consul will bind client interfaces, including the HTTP and DNS
# servers.
client_addr = "0.0.0.0"
# ui
# Enables the built-in web UI server and the required HTTP routes.
ui_config{
enabled = true
}
# default domain
domain = "consul"
# enable dns_config
dns_config{
enable_truncate = true
only_passing = true
}
# server
# This flag is used to control if an agent is in server or client mode. When provided,
# an agent will act as a Consul server. Each Consul cluster must have at least one
# server and ideally no more than 5 per datacenter. All servers participate in the Raft
# consensus algorithm to ensure that transactions occur in a consistent, linearizable
# manner. Transactions modify cluster state, which is maintained on all server nodes to
# ensure availability in the case of node failure. Server nodes also participate in a
# WAN gossip pool with server nodes in other datacenters. Servers act as gateways to
# other datacenters and forward traffic as appropriate.
server = true
# Advertise addr - if you want to point clients to a different address than bind or LB.
advertise_addr = "192.168.5.36"
# bootstrap_expect
# This flag provides the number of expected servers in the datacenter.
bootstrap_expect=3
# encrypt
# Specifies the secret key to use for encryption of Consul network traffic.
encrypt = "t/r8+jTHbMd9u/bD63i70e+h4pLUSRprn2mXKTKJXEY="
# retry_join
retry_join = ["192.168.5.36", "192.168.5.37", "192.168.5.38"]
完成后,保存并退出文件。
以下是你需要在每台服务器上重点关注的一些 Consul 参数:
- server:设为 True 表示该节点将作为 Consul 服务器运行。
- advertise_addr:将其替换为对应 Consul 服务器的 IP 地址。
- bootstrap_expect:你的集群中将包含多少台服务器?
- encrypt:每台服务器必须使用相同的密钥。
- retry_join:将 Consul 集群的 IP 地址填入该参数。
现在运行以下命令来验证并检查你的 Consul 配置。如果 Consul 语法正确,你将看到类似 " Configuration is valid! " 的输出。
sudo consul validate /etc/consul.d/接下来,在每台服务器上运行以下命令启动 Consul。顺序为 consul01、consul02,然后是 consul03。
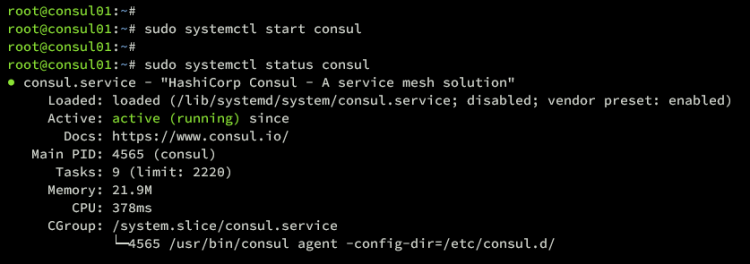
sudo systemctl start consul最后,你可以运行以下命令来验证 Consul 服务,并确保该服务在每台服务器上均已运行。
sudo systemctl status consul如下所示,Consul 正在 consul01 上运行。
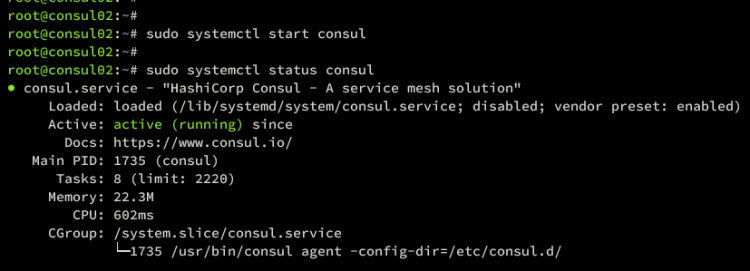
以下是 Consul 服务在 consul02 服务器上的运行情况。
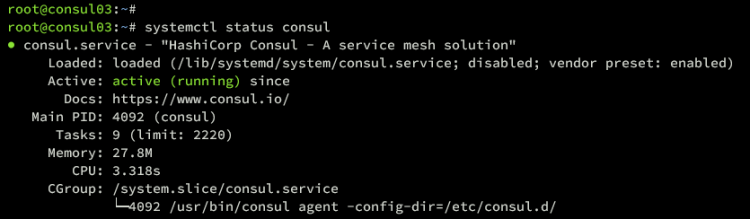
以下是 consul03 服务器上的状态。
与 Consul 交互
至此,你已完成由三台 Ubuntu 服务器组成的 Consul 集群的配置。在本步骤中,你将通过查看服务器列表、在 Consul 中创建键值数据库,以及验证 Consul 服务器的域名,来检验你的 Consul 集群。
使用以下命令查看 Consul 集群中可用的服务器列表。
consul members如果你的 Consul 安装成功,你应该能在 Consul 集群中看到三台服务器。

除了列出成员外,你还可以运行以下命令获取 Consul 集群中的对等节点(peer)列表。这将显示 raft ID、状态、投票者(voter)以及协议版本。
consul operator raft list-peers
接下来,使用以下命令创建一个新键 test_db 并赋值为 testkv,以此验证你的 Consul 集群。
consul kv put consul/configuration/test_db testkv键值数据库创建完成后,运行以下 consul 命令检索 test_db 键,你将看到其值 testkv。
consul kv get consul/configuration/test_db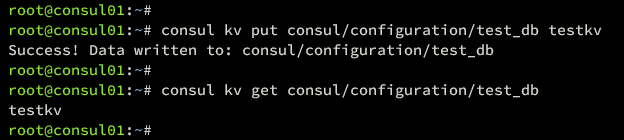
最后,使用以下 dig 命令检查 Consul 的 DNS。这将显示 Consul 的默认域名 consul.service.consul,并指向 Consul 集群的 IP 地址。
dig @127.0.0.1 -p 8600 consul.service.consul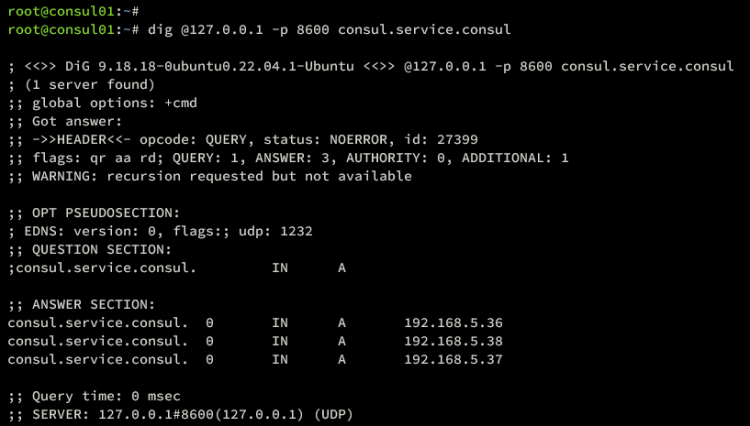
访问 Consul Web 管理界面
Consul 在默认安装中还提供了一个 Web 管理控制台,它运行在 8500 端口,路径为 /ui。
打开你的浏览器,访问服务器的 IP 地址,例如 http://192.168.5.36:8500/ui/。在 Consul 控制台中,你可以看到三台可用 Consul 实例的信息。
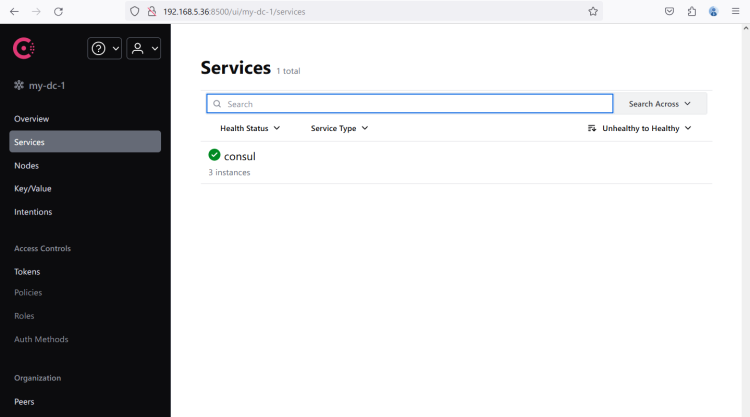
接下来,点击 Nodes 菜单,即可查看每个节点的详细信息。如下所示,你可以看到各服务器的健康状态、服务器 IP 地址以及 Consul 版本。
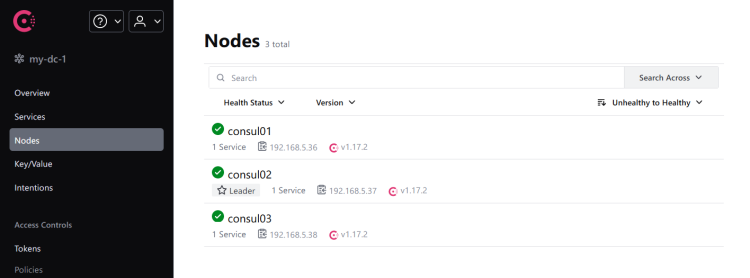
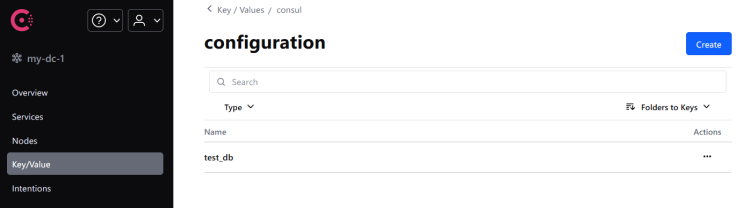
最后,点击 Key/Value 菜单,获取 Consul 集群中可用键值数据的列表。如下方所示,你可以看到之前创建的 test_db。
总结
恭喜!你已成功使用三台 Ubuntu 22.04 服务器安装了 Consul 集群。此外,你还学习了用于管理 Consul 的基础 consul 命令。