
本教程适用于以下操作系统版本
- Ubuntu 24.04(Noble Numbat)
- Ubuntu 22.04(Jammy Jellyfish)
- Ubuntu 20.04(Focal Fossa)
- Ubuntu 18.04(Bionic Beaver)
- Ubuntu 16.04(Xenial Xerus)
- Ubuntu 14.04 LTS(Trusty Tahr)
本页目录
- 准备工作
- 安装 Java OpenJDK
- 安装 Apache Tomcat 10
- 配置 Apache Tomcat 认证
- 将 Nginx 配置为反向代理
- 总结
Apache Tomcat(简称 "Tomcat")是一个免费且开源的 Java Servlet 容器,用于运行 Java 代码和应用程序。它提供了一个 "纯 Java" 的 HTTP 服务器环境,可运行 Java 代码。Tomcat 还实现了 JavaServer Pages、Java 表达式语言(Java Expression Language)以及 WebSocket 技术,并支持 SSL 以保护认证等敏感数据。
本指南将教你如何在 Ubuntu 24.04 服务器上安装 Apache Tomcat。你将使用 Java OpenJDK 21 安装 Apache Tomcat 10,随后安装并配置 Nginx 作为反向代理。
准备工作
在继续之前,请确保你具备以下条件:
- 一台 Ubuntu 24.04 服务器。
- 一个具有管理员权限的非 root 用户。
安装 Java OpenJDK
在安装 Apache Tomcat 之前,你需要确保系统已安装 Java。最新的 Apache Tomcat 10 至少需要 Java 11 或更高版本。在本节中,你将通过 Ubuntu 官方软件源安装 Java OpenJDK 21。
To start, update your Ubuntu package index with the command below.
sudo apt update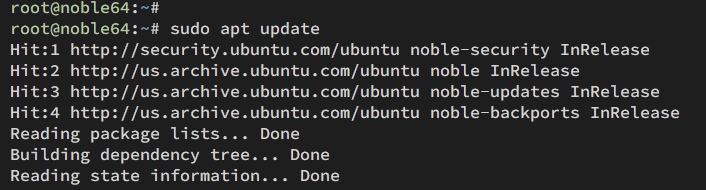
Now install the Java OpenJDK with the following command. On Ubuntu 24.04, the 'default-jdk' refers to the OpenJDK 21, which is the LTS version of Java.
sudo apt install default-jdkInput Y to proceed with the installation.
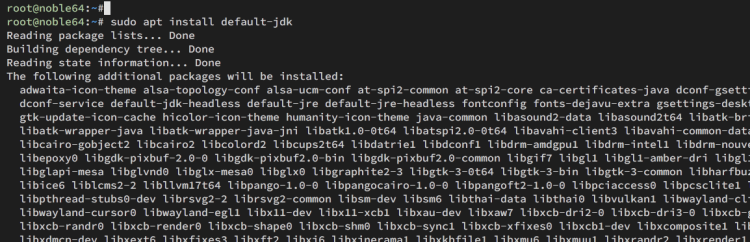
After the installation is complete, check the Java version using the following command. You should see that Java OpenJDK 21 is installed on your Ubuntu server.
java --version
在最新版本的 Ubuntu 中,Apache Tomcat 10 默认已收录在 Ubuntu 软件源中,因此你可以使用 APT 包管理器轻松安装 Tomcat。
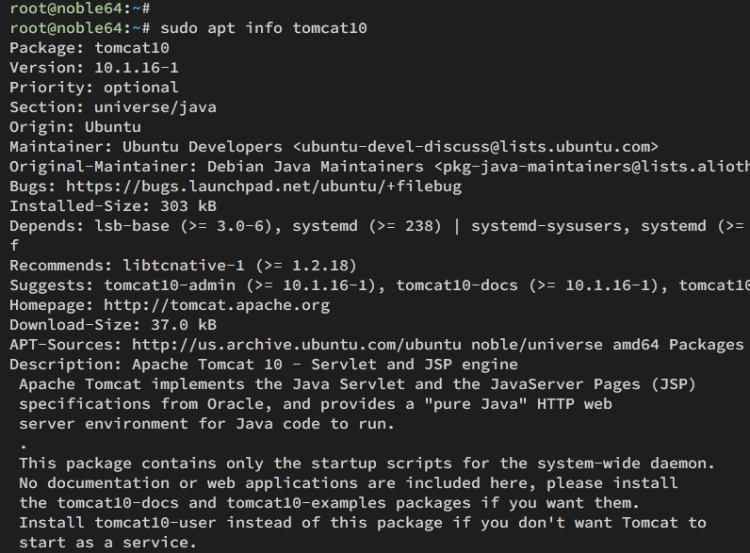
首先,使用以下命令查看 'tomcat10' 软件包的信息。
First, check the ' tomcat10 ' package information with the following command.
sudo apt info tomcat10The following shows that Apache Tomcat 10.1.16 is available on the Ubuntu ' universe/java ' repository.
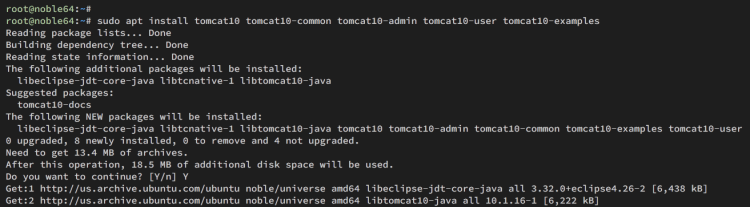
Now install Apache Tomcat to your Ubuntu system with the command below. With this command, you will also install the Tomcat admin web applications, tools to create users, and examples of Tomcat web applications.
sudo apt install tomcat10 tomcat10-common tomcat10-admin tomcat10-user tomcat10-examplesInput Y to confirm the installation.
使用以下命令检查 'tomcat10' 服务的状态:
Check the ' tomcat10 ' service status with the following command:
sudo systemctl is-enabled tomcat10
sudo systemctl status tomcat10
You can see below, the ' tomcat10 ' service is enabled and active(running) . The ' tomcat10 ' service will start automatically at boot.
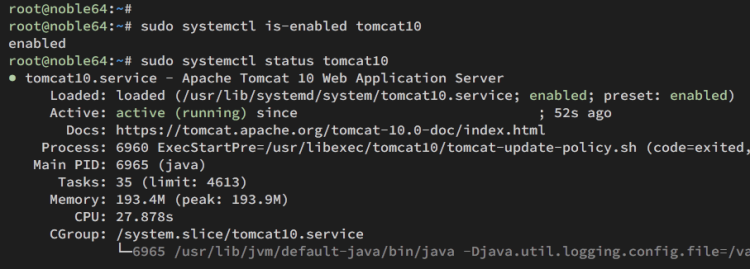
Now run the command below to check the Apache Tomcat port 8080. If Tomcat is running, you will see the Java application uses port 8080.
ss -tulpn
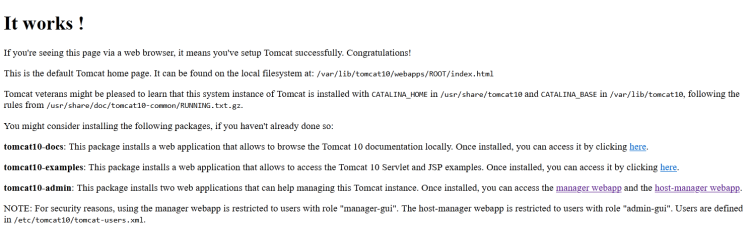
Lastly, visit http://192.168.5.30:8080/ using your web browser and you will see the Apache Tomcat default index page like the following:
在本节中,你将配置基本认证(Basic Authentication),并允许访问 Tomcat 的 host-manager 与 manager。你将通过编辑 'tomcat-users.xml' 文件启用 Tomcat 基本认证,然后通过 'tomcat10-admin' 软件包允许访问 Tomcat 的 host-manager 和 manager。
使用 nano 编辑器打开 Tomcat 用户配置文件 '/etc/tomcat10/tomcat-users.xml'。
Open the Tomcat user configuration '/etc/tomcat10/tomcat-users.xml' using the nano editor.
sudo nano /etc/tomcat10/tomcat-users.xmlInsert the following configuration between the '
<tomcat-users>
<!--
user: admin pass: tomcatadmin
-->
<role rolename="manager-gui"/>
<role rolename="manager-script"/>
<role rolename="manager-jmx"/>
<role rolename="manager-status"/>
<role rolename="admin-gui"/>
<role rolename="admin-script"/>
<user username="admin" password="tomcatadmin" roles="manager-gui, manager-script, manager-jmx, manager-status, admin-gui, admin-script"/>
</tomcat-users>
When finished, save and exit the file.
Now open the configuration for the Tomcat ' host-manager ' and ' manager ' with the nano editor command below.
sudo nano /usr/share/tomcat10-admin/host-manager/META-INF/context.xml
sudo nano /usr/share/tomcat10-admin/manager/META-INF/context.xml
Comment on the following configuration by adding ' ' . With this, you will allow remote access to the Apache Tomcat ' host-manager ' and ' manager '.
<!--
 <Valve className="org.apache.catalina.valves.RemoteAddrValve"
 allow="127\.\d+\.\d+\.\d+|::1|0:0:0:0:0:0:0:1" />
-->
编辑完成后,运行以下命令重启 'tomcat10' 服务,使新的更改在 Apache Tomcat 中生效。
After editing, run the following command to restart the 'tomcat10' service and apply the new changes to your Apache Tomcat installation.
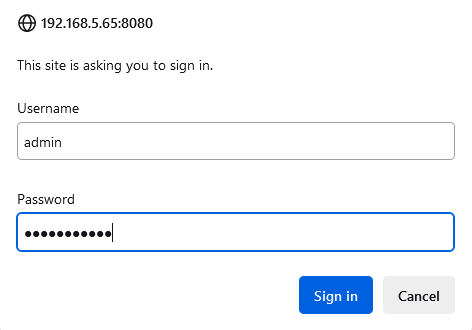
sudo systemctl restart tomcat10在提示时输入用户名 'admin' 和密码 'tomcatadmin'。
Type the user ' admin ' and password ' tomcatadmin ' when prompted.
Apache Tomcat manager 管理页面。
Apache Tomcat manager.
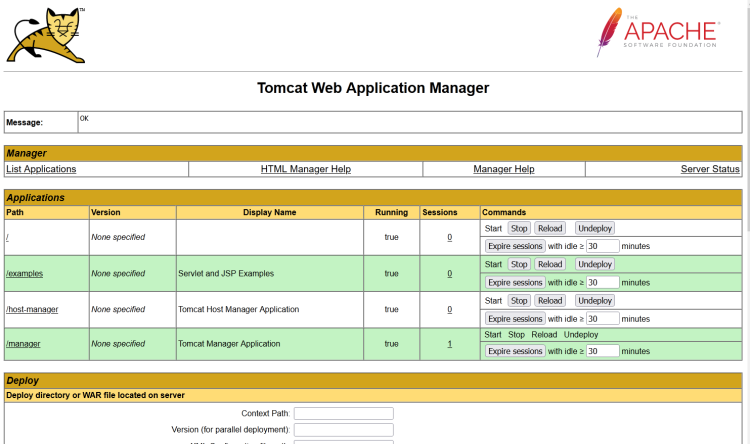
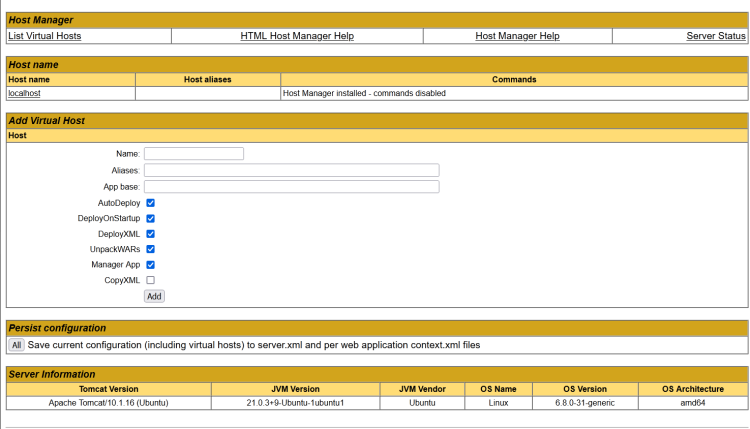
Apache Tomcat host-manager.
在本指南中,你将安装 Nginx Web 服务器,并将其配置为 Apache Tomcat 的反向代理。使用反向代理后,你可以通过本地域名轻松访问 Tomcat 应用。
要在 Ubuntu 上安装 Nginx Web 服务器,请运行以下命令:
To install the Nginx web server on your Ubuntu, run the following:
sudo apt install nginx -y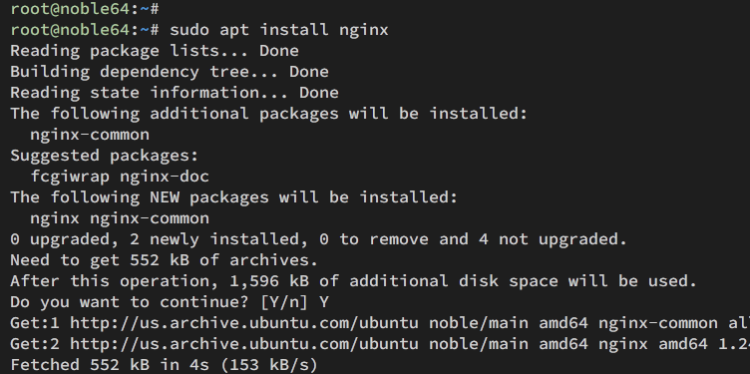
When the installation is finished, create a new server block configuration ' /etc/nginx/sites-available/tomcat10 ' that will be used as a reverse proxy for Apache Tomcat.
sudo nano /etc/nginx/sites-available/tomcat10Add the configuration below and change your local domain name using the server_name option.
server {
 listen 80;
 server_name tomcat10.howtoforge.local;
 access_log /var/log/nginx/tomcat-access.log;
 error_log /var/log/nginx/tomcat-error.log;
 location / {
  proxy_set_header X-Forwarded-Host $host;
  proxy_set_header X-Forwarded-Server $host;
  proxy_set_header X-Forwarded-For $proxy_add_x_forwarded_for;
  proxy_pass http://127.0.0.1:8080/;
 }
}
现在运行以下命令,启用 'tomcat10' server block 配置并测试 Nginx 语法。
Now run the command below to activate the 'tomcat10' server block configuration and test your Nginx syntax.
sudo ln -s /etc/nginx/sites-available/tomcat10 /etc/nginx/sites-enabled/
sudo nginx -t
If you have correct and proper Nginx syntax, you will see an output ' syntax is ok ... test is successful '.

Next, run the following command to restart the Nginx service and apply the 'tomcat10' server block. Then, verify the Nginx service status to ensure it is running.
sudo systemctl restart nginx
sudo systemctl status nginx
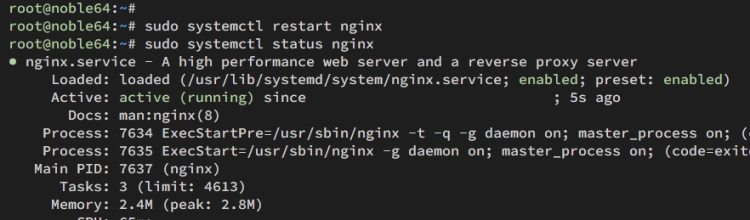
The output below shows that the Nginx web server is running. And you can access your Apache Tomcat installation using a domain name such as ' tomcat10.howtoforge.local '.
You can add the following configuration to the 'hosts' file on your local machine. For Linux or Mac users, add the following to the ' /etc/hosts ' file. As for Windows users, add the configuration below to the ' C:\Windows\System32\drivers\etc\hosts ' file.
192.168.5.30 tomcat10.howtoforge.local
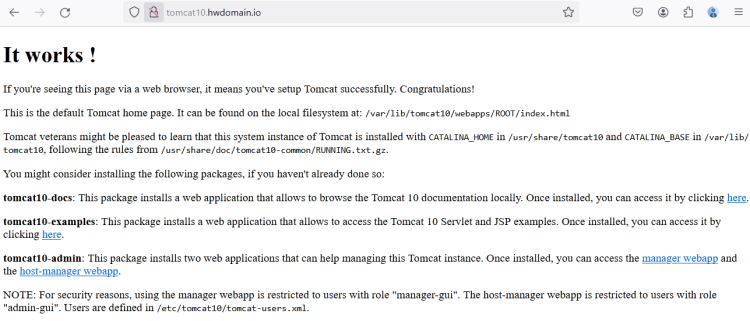
Lastly, visit http://tomcat10.howtoforge.local using your web browser. If your Nginx reverse proxy installation is successful, you will see the Apache Tomcat index page like the following:
总结
恭喜!你已成功在 Ubuntu 24.04 服务器上安装了 Apache Tomcat。你在 Ubuntu 上使用了 Java OpenJDK 21 安装 Tomcat 10,并且安装并配置了 Nginx 作为 Apache Tomcat 的反向代理。
Congratulations! You have successfully installed Apache Tomcat on Ubuntu 24.04 server. You've installed Tomcat 10 with the Java OpenJDK 21 on Ubuntu. Also, you have installed and configured Nginx as a reverse proxy for Apache Tomcat.