
本教程适用于以下操作系统版本
- Debian 12 (Bookworm)
- Debian 11 (Bullseye)
- Debian 10 (Buster)
本页内容
- 先决条件
- 配置软件源并安装依赖项
- 安装 rbenv 和 Ruby
- 配置 PostgreSQL 数据库服务器
- 安装 Mastodon
- 将 Mastodon 作为 Systemd 服务运行
- 将 Nginx 配置为反向代理
- 访问 Mastodon 安装
- 结论
Mastodon 是一个免费、去中心化且开源的社交网络,类似于 Twitter。在 Mastodon 中,用户可以互相关注,并发布消息、图片和视频。但与 Twitter 不同的是,其内容没有中央存储或管理机构。
借助去中心化架构,Mastodon 运行在数千台不同的服务器上,每台服务器由社区的不同成员运营。你可以在自己的域名下创建 Mastodon 服务器,也可以关注其他服务器上不同域名的其他用户。
在本教程中,你将在 Debian 11 服务器上安装 Mastodon 这一去中心化微博平台。按照本指南,你将使用 PostgreSQL 作为数据库服务器、Nginx 作为反向代理来搭建 Mastodon。同时,你还将通过 Letsencrypt 提供的免费 SSL 证书来保护 Mastodon 安装。
先决条件
本指南假定你已具备以下先决条件:
- 一台 Debian 11 服务器——本示例使用的是最新的 Debian 11 服务器,主机名为 'mastodon-server',IP 地址为 '192.168.5.40'。
- 一个具有 sudo/root 管理员权限的非 root 用户。
- 一个已指向并解析到你的公网 Debian 服务器的域名——本示例使用子域名 'mastodon.example.local'。
当你满足了这些先决条件后,就可以开始安装 Mastodon 了。
配置软件源并安装依赖项
Mastodon 是一款免费的开源软件,用于运行类似 Twitter 服务的自托管社交网络服务。它主要使用 Ruby 编写,特别是基于 Ruby on Rails Web 框架,并使用 JavaScript 配合 Reac.js 和 Redux 框架。
在第一步中,你将向系统添加额外的软件源,并安装 Mastodon 安装所需的软件包依赖项。其中包括用于编译 Ruby 的 build-essentials、作为数据库服务器的 PostgreSQL、作为 Web 服务器和反向代理的 Nginx、用于通过 Letsencrypt 获取 SSL 证书的 certbot 工具,以及将用于 Mastodon 键值存储和会话管理的 Redis 服务器。
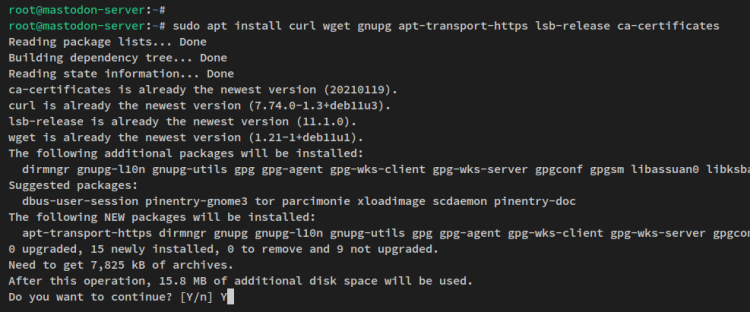
在开始之前,运行以下 apt 命令安装一些用于管理软件源和软件包的基础依赖项。
sudo apt install curl wget gnupg apt-transport-https lsb-release ca-certificates当提示时,输入 y 确认并按 ENTER 继续。
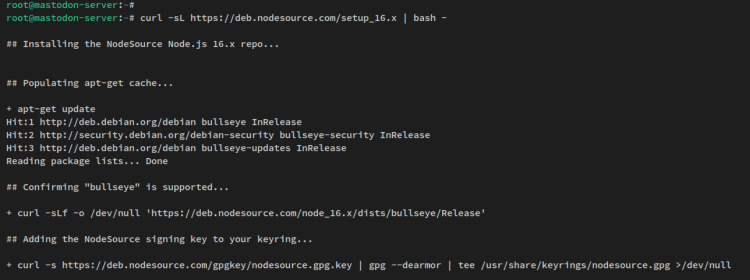
接下来,运行以下命令添加 Node.js 的 Nodesource 软件源。这里的 Node.js 软件包将用于编译 Mastodon 的静态资源。截至本文撰写时,最新的 Mastodon 至少需要 Node.js v16。
curl -sL https://deb.nodesource.com/setup_16.x | bash -随后你将看到类似以下的输出。
添加 Node.js 软件源后,你接下来要配置 Yarn 包管理器的软件源。该软件源提供 Yarn 包,用于安装 JavaScript 依赖项。
运行以下命令添加 Yarn 包管理器的 GPG 密钥和软件源。
curl -sL https://dl.yarnpkg.com/debian/pubkey.gpg | gpg --dearmor | sudo tee /usr/share/keyrings/yarnkey.gpg >/dev/null
echo "deb [signed-by=/usr/share/keyrings/yarnkey.gpg] https://dl.yarnpkg.com/debian stable main" | sudo tee /etc/apt/sources.list.d/yarn.list
你要添加的第三个软件源是 PostgreSQL 软件源。运行以下命令将 PostgreSQL 软件源添加到你的 Debian 服务器。
wget -O /usr/share/keyrings/postgresql.asc https://www.postgresql.org/media/keys/ACCC4CF8.asc
echo "deb [signed-by=/usr/share/keyrings/postgresql.asc] http://apt.postgresql.org/pub/repos/apt $(lsb_release -cs)-pgdg main" \
> /etc/apt/sources.list.d/postgresql.list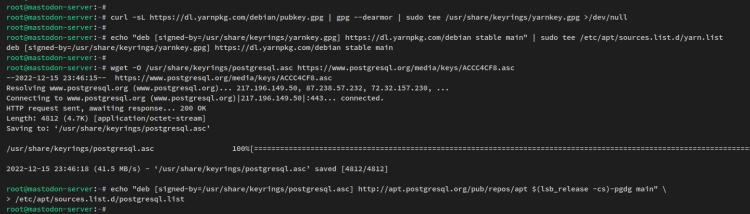
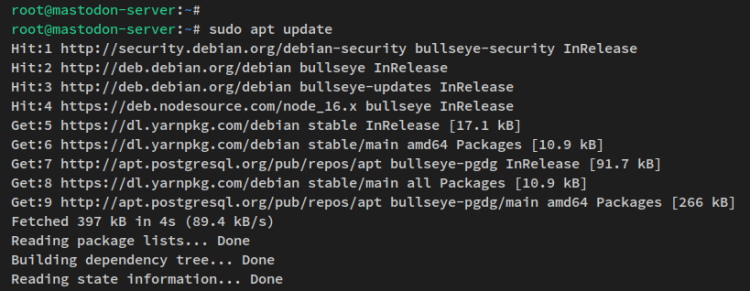
添加 Node.js、Yarn 和 PostgreSQL 软件源后,运行以下 apt 命令刷新你的软件包索引。
sudo apt update你将看到类似以下的输出。
最后,运行以下 apt 命令安装用于安装 Mastodon 的软件包依赖项。
sudo apt install imagemagick ffmpeg libpq-dev libxml2-dev libxslt1-dev file git-core \
  g++ libprotobuf-dev protobuf-compiler pkg-config nodejs gcc autoconf \
  bison build-essential libssl-dev libyaml-dev libreadline6-dev \
  zlib1g-dev libncurses5-dev libffi-dev libgdbm-dev \
  nginx nodejs yarn redis-server redis-tools postgresql postgresql-contrib \
  certbot python3-certbot-nginx libidn11-dev libicu-dev libjemalloc-dev
当提示确认时输入 y,并按 ENTER 继续。
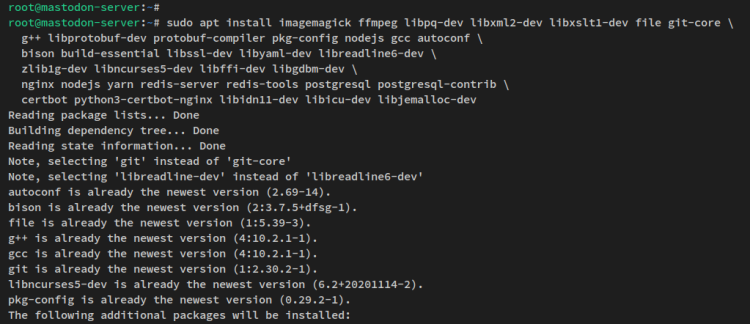
至此,你已经为 Mastodon 安装了基础依赖项,并向 Debian 系统添加了一些第三方软件源。
接下来的步骤中,你将通过 rbenv(Ruby 版本管理器)安装 Ruby。
安装 rbenv 和 Ruby
rbenv 是类 Unix 系统上用于 Ruby 编程语言的版本管理工具。它可用于在同一台机器上切换多个 Ruby 版本,并确保你正在开发的每个项目始终运行在正确的 Ruby 版本上。
首先,运行以下命令在系统上创建一个新用户 'mastodon'。该新用户将用于运行与 Mastodon 相关的服务,Mastodon 源代码将存储在该用户的主目录中。
sudo adduser --disabled-login mastodon在此过程中,系统会要求你配置用户详细信息。输入你的用户信息,然后输入 y 确认并按 ENTER。
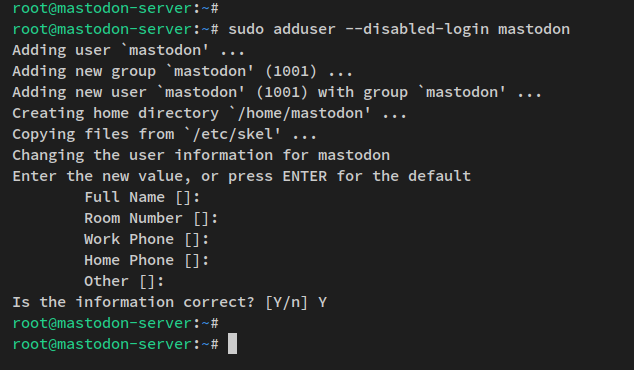
创建 'mastodon' 用户后,运行以下命令登录。
su - mastodon接下来,通过以下 git 命令下载 rbenv 源代码。
git clone https://github.com/rbenv/rbenv.git ~/.rbenv然后运行以下命令在你的系统上安装 rbenv。
cd ~/.rbenv && src/configure && make -C src安装 rbenv 后,你将看到类似以下的输出。
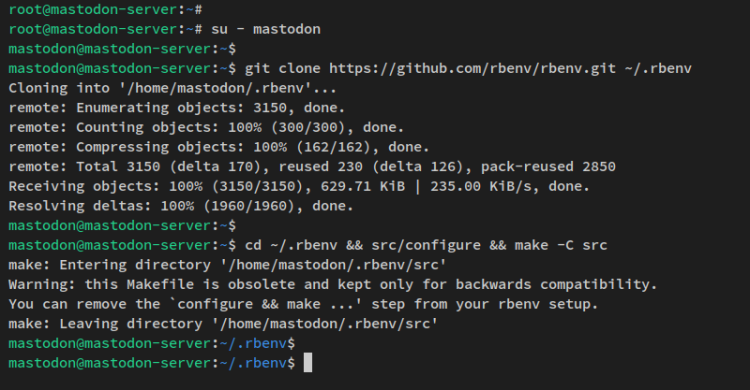
接下来,运行以下命令将 rbenv 的 'bin' 目录添加到系统的 PATH 中,并在用户每次登录新会话时加载 rbenv。
echo 'export PATH="$HOME/.rbenv/bin:$PATH"' >> ~/.bashrc
echo 'eval "$(rbenv init -)"' >> ~/.bashrc
现在通过重新加载 bashrc 配置文件来刷新当前 shell。然后在 shell 中输入 'rbenv' 命令并按 TAB 键。
source ~/.bashrc
rbenv TAB
在下方的截图中,rbenv 已安装完成,你现在可以执行 rbenv 命令来安装 Ruby。

在安装 Ruby 之前,你需要安装名为 'ruby-build' 的 rbenv 插件。该插件提供了命令行工具,简化了从源代码安装 Ruby 的过程,尤其适用于类 UNIX 操作系统。
通过 git 命令下载 'ruby-build' 插件。
git clone https://github.com/rbenv/ruby-build.git ~/.rbenv/plugins/ruby-build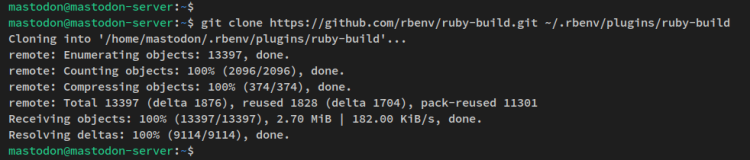
添加 'ruby-build' 插件后,运行以下命令安装当前 Mastodon 版本所需的 Ruby v3.0.4。
RUBY_CONFIGURE_OPTS=--with-jemalloc rbenv install 3.0.4安装完成后,你将看到类似以下的输出。
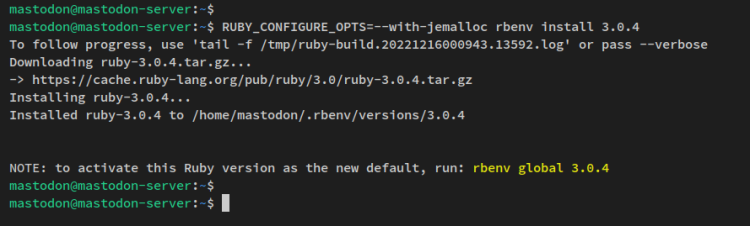
现在运行以下命令将默认的 Ruby 版本设置为 3.0.4。然后使用以下 ruby 命令进行验证。你将看到 Debian 系统上已安装 Ruby v3.0.4。
rbenv global 3.0.4
ruby --version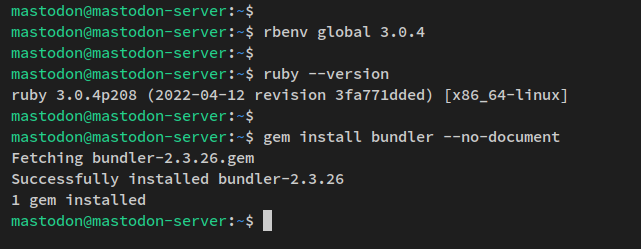
最后,你必须安装 bundler 作为 Ruby 的包管理工具。运行以下 gem 命令安装 'bundler'。
gem install bundler --no-document至此,你已完成 Mastodon 软件包依赖项在系统上的安装。你已通过 rbenv Ruby 版本管理器安装了 Ruby 3.0.4,并安装了 Ruby 包管理工具 bundler。
接下来的步骤中,你将创建用于 Mastodon 安装的 PostgreSQL 用户。
配置 PostgreSQL 数据库服务器
在此步骤中,你将验证 PostgreSQL 服务,确保其已启用并正在运行。然后,你将通过 PostgreSQL shell 创建一个新的 PostgreSQL 用户/角色 'mastodon'。
请务必使用 root 用户/权限执行以下命令。
开始之前,运行以下 systemctl 命令以确保 PostgreSQL 服务正在运行并已启用。
sudo systemctl is-enabled postgresql
sudo systemctl status postgresql
你应该会收到类似以下的输出。
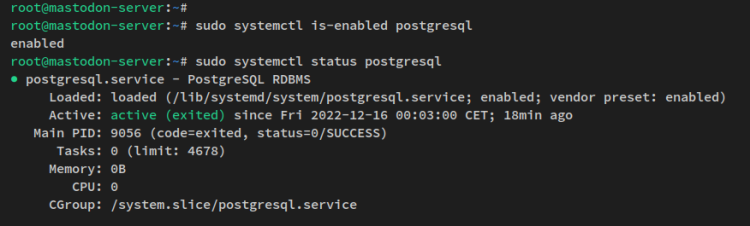
PostgreSQL 运行后,运行以下命令登录到 PostgreSQL shell。
cd /etc/postgresql
sudo -u postgres psql
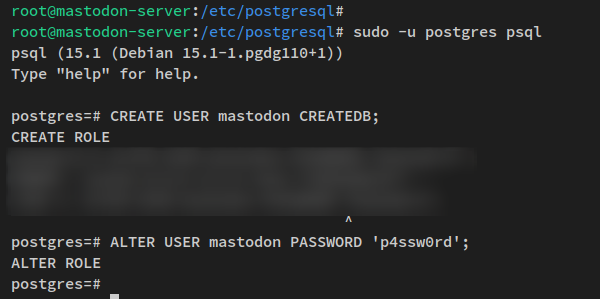
登录 PostgreSQL shell 后,运行以下 PostgreSQL 查询以创建新的角色/用户 'mastodon'。同时,请务必将默认密码更改为一个新的强密码。
CREATE USER mastodon CREATEDB;
ALTER USER mastodon PASSWORD 'p4ssw0rd';
接下来,运行以下查询以确认新的 PostgreSQL 用户/角色已创建。然后输入 '\q' 退出 PostgreSQL shell。
\du
\q
以下输出表明新的 PostgreSQL 用户/角色 'mastodon' 已创建。
创建 PostgreSQL 用户/角色后,你就可以在 Debian 系统上安装 Mastodon 了。
安装 Mastodon
在此步骤中,你将安装并配置 Mastodon 到你的 Debian 服务器。你还将安装 Mastodon 的 Ruby 依赖项和 JavaScript 依赖项。最后,你将开始为部署配置 Mastodon,这包括域名配置、数据库和 redis 配置、SMTP 配置,以及 Mastodon 管理员用户配置。
开始之前,通过以下命令登录到 'mastodon' 用户。
su - mastodon现在通过 git 命令下载 Mastodon 源代码,并将分支切换到 Mastodon 最新的稳定版本。截至本文撰写时,Mastodon 的稳定版本是 v4.0.2。
git clone https://github.com/mastodon/mastodon.git live && cd live
git checkout $(git tag -l | grep -v 'rc[0-9]*$' | sort -V | tail -n 1)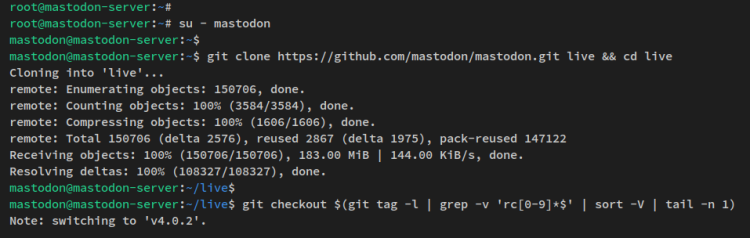
接下来,运行以下命令设置 Mastodon 的部署并安装 Ruby 依赖项。
bundle config deployment 'true'
bundle config without 'development test'
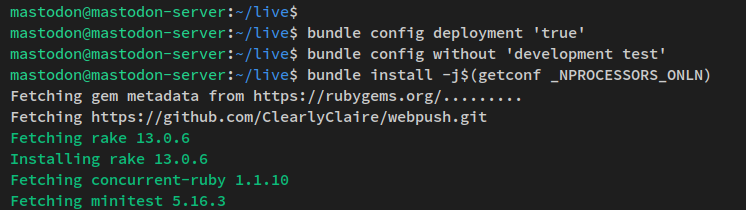
bundle install -j$(getconf _NPROCESSORS_ONLN)
安装 Mastodon 的 Ruby 依赖项需要一些时间。以下是你的终端将收到的类似输出。
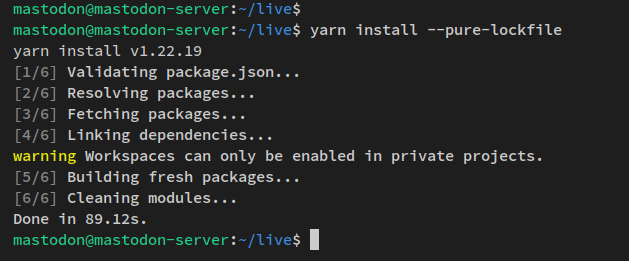
安装完 Mastodon 的 Ruby 依赖项后,运行以下 yarn 命令安装 Mastodon 的 JavaScript 依赖项。
yarn install --pure-lockfile随后你将收到类似以下的输出。
安装完 Ruby 依赖项和 JavaScript 依赖项后,你将开始配置你的 Mastodon 安装。
运行以下命令为生产环境配置 Mastodon。
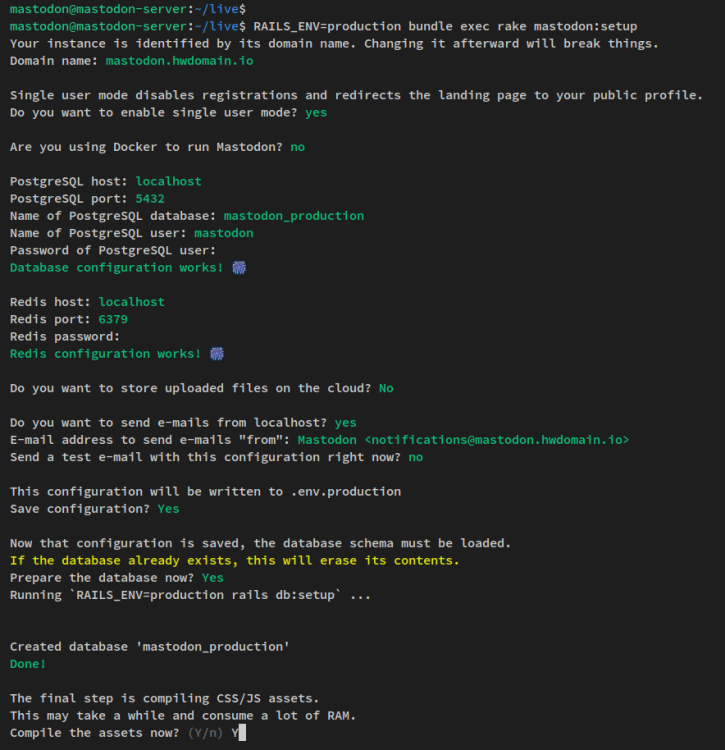
RAILS_ENV=production bundle exec rake mastodon:setup你将被询问一些 Mastodon 的配置项。
- Mastodon 域名?本示例使用域名 'mastodon.example.local'。
- 是否启用单用户模式?输入 y。
- 是否使用 Docker 运行 Mastodon?输入 n 表示否。
- 输入 PostgreSQL 用户和密码,并确保看到 'Database configuration works!' 消息。
- Redis 配置?直接按 ENTER 保留默认设置。
- 是否启用上传文件到云端?输入 n 表示否。
- 是否允许从本机发送邮件?输入 y 表示确认允许,或输入 n 表示否。这取决于你的环境,你也可以使用第三方 SMTP 服务器。
- 是否保存配置?输入 y 表示是。
- 关于数据库创建。输入 y 创建 Mastodon 数据库。
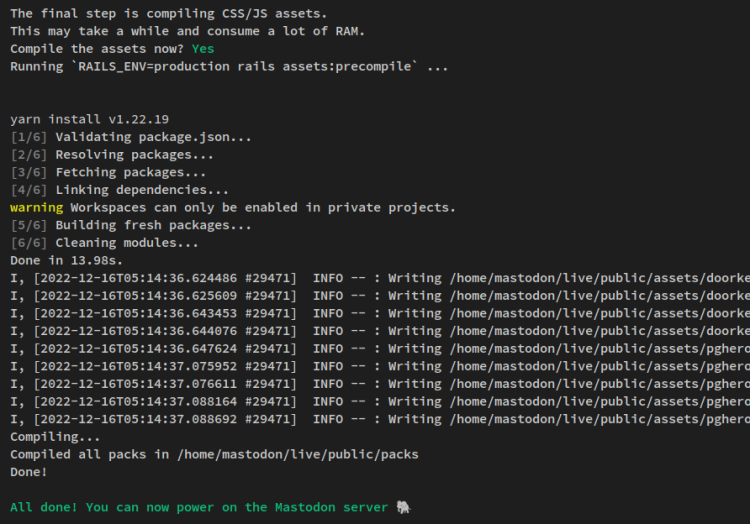
- 输入 y 编译 Mastodon 的资源文件和静态文件。
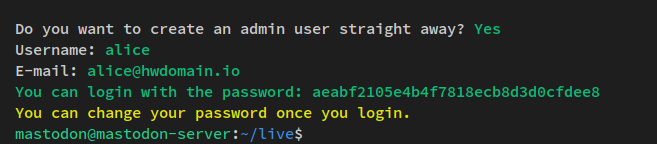
- 是否设置管理员用户?输入你的 Mastodon 安装所用的新管理员用户和电子邮件。随后系统会自动生成密码并显示在你的屏幕上。
Mastodon 针对域名、PostgreSQL、Redis 服务器和 SMTP 邮件服务器的配置。
Mastodon 生成资源文件和静态文件。
mastodon 管理员用户已创建,密码也已生成并显示在终端屏幕上。
至此,你已完成在 Debian 11 上 Mastodon 的安装和配置。接下来的步骤中,你将把 Mastodon 设置为 systemd 服务。
将 Mastodon 作为 Systemd 服务运行
默认情况下,Mastodon 提供了一些 systemd 服务文件示例,位于 '/home/mastodon/live/dist/' 目录中。
运行以下命令将 Mastodon 服务文件复制到 '/etc/systemd/system' 目录。
sudo cp /home/mastodon/live/dist/mastodon-*.service /etc/systemd/system/现在重新加载 systemd 管理器以应用对 systemd 的更改。
sudo systemctl daemon-reload之后,通过以下 systemctl 命令启动并启用 Mastodon 服务。
sudo systemctl start mastodon-web mastodon-sidekiq mastodon-streaming
sudo systemctl enable mastodon-web mastodon-sidekiq mastodon-streaming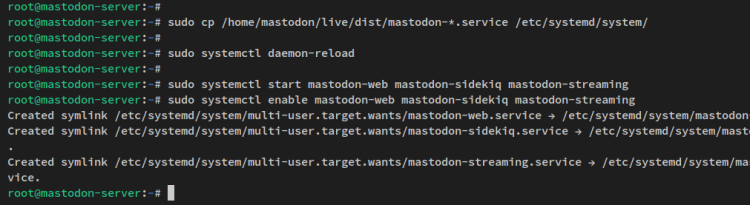
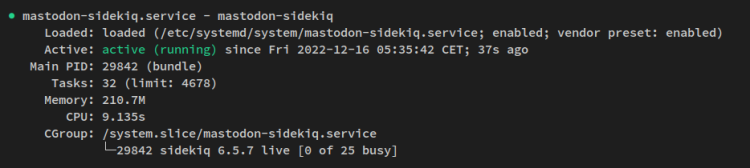
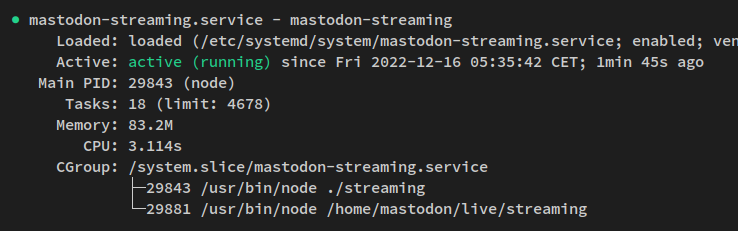
Mastodon 服务现在应该已启动、运行并处于启用状态。使用以下 systemctl 命令进行验证。
sudo systemctl status mastodon-web mastodon-sidekiq mastodon-streaming你将收到类似以下截图的输出。
mastodon-web 服务正在运行并已启用。
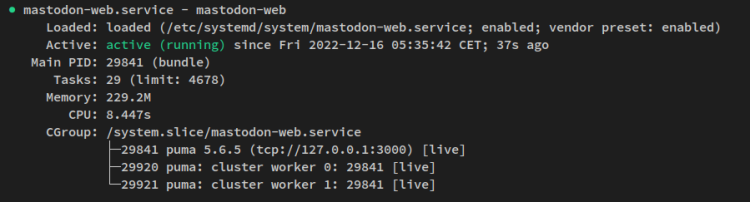
mastodon-sidekiq 也在运行并已启用。
mastodon-streaming 服务也在运行并已启用。
所有 Mastodon 服务都已运行并启用后,接下来你将把 Nginx 配置为 Mastodon 的反向代理,并生成 Letsencrypt 的 SSL 证书。
将 Nginx 配置为反向代理
在此步骤中,你将把 Nginx Web 服务器配置为 Mastodon 的反向代理。你还将通过 certbot 命令生成 Letsencrypt 的 SSL 证书,并通过 HTTPS 安全连接来保护 Mastodon。
将 Mastodon 默认的 Nginx server block 配置复制到 '/etc/nginx/sites-available/mastodon',然后启用新的 server block 配置 '/etc/nginx/sites-available/mastodon'。
sudo cp /home/mastodon/live/dist/nginx.conf /etc/nginx/sites-available/mastodon
sudo ln -s /etc/nginx/sites-available/mastodon /etc/nginx/sites-enabled/mastodon
接下来,使用以下 nano 编辑器命令打开 Mastodon 的 server block 配置文件 '/etc/nginx/sites-available/mastodon'。
sudo nano /etc/nginx/sites-available/mastodon将默认域名替换为你的 Mastodon 域名。在本示例中,Mastodon 的域名为 'mastodon.example.local'。
```ini
change domain
```
完成后保存文件并退出编辑器。
接下来,运行以下命令从 Letsencrypt 生成 SSL 证书。请务必将域名替换为你自己的域名。
sudo certbot --nginx -d mastodon.example.local
生成 SSL 证书后,运行以下命令验证 Nginx 配置。如果你收到类似 'test successful - syntax ok' 的输出消息,说明你的配置正确。然后重启 Nginx 服务以应用新的更改。
sudo nginx -t
sudo systemctl restart nginx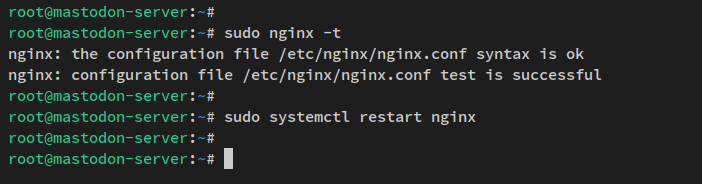
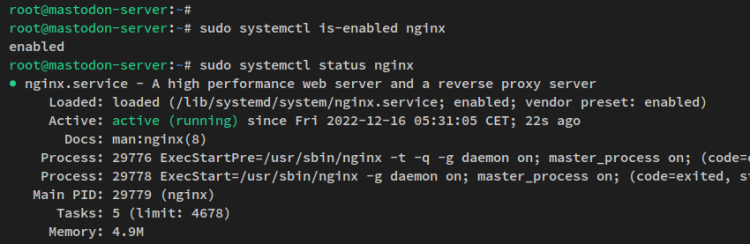
最后,运行以下 systemctl 命令验证 Nginx 服务,确保该服务正在运行并已启用。
sudo systemctl is-enabled nginx
sudo systemctl status nginx
你将收到类似以下的输出——Nginx 服务当前正在运行并已启用。Nginx 服务将在系统启动时自动运行。
完成所有配置后,你的 Mastodon 现在可以通过 Web 浏览器访问了。
访问 Mastodon 安装
打开你的 Web 浏览器,访问你的 Mastodon 安装所在的域名(即:https://mastodon.example.local/)。你现在将看到 Mastodon 的默认首页。
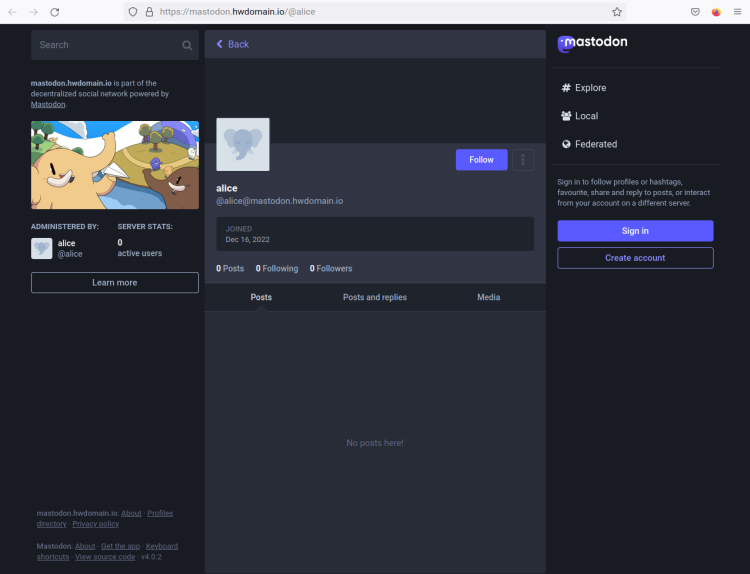
点击 'Sign In' 按钮验证你的用户。
现在输入你的管理员用户和生成的密码,然后点击 Sign In。
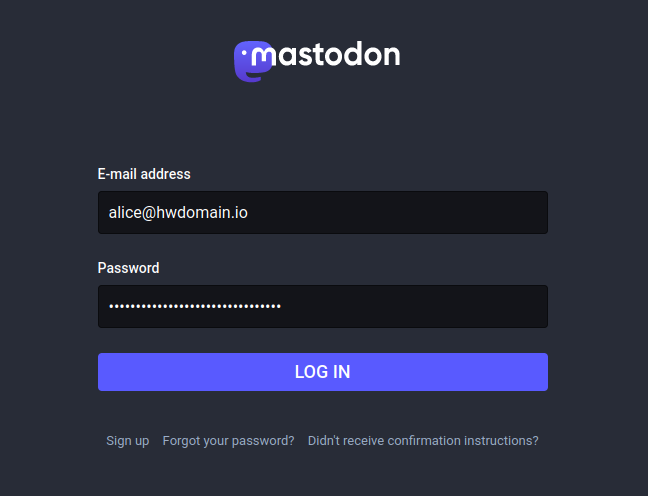
随后你将看到 Mastodon 的用户主页。

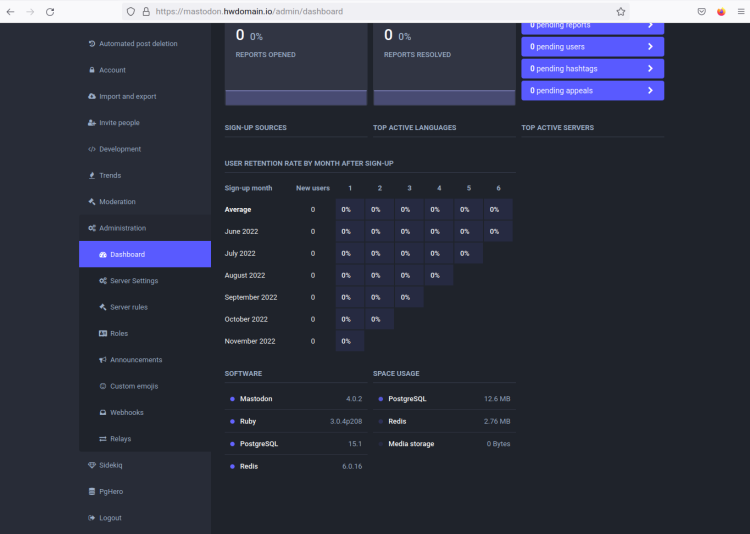
接下来,点击 Preferences 菜单进入用户偏好设置页面。然后,点击左侧的 Administration 菜单。你应该会看到下方的 Mastodon 管理页面。
你可以查看当前在你的 Mastodon 安装中所使用的详细软件技术栈。
结论
恭喜!你现在已经完成了在 Debian 11 服务器上 Mastodon 微博平台的安装。你已使用 PostgreSQL 作为数据库服务器、Nginx 作为反向代理安装了 Mastodon。你还通过安全的 HTTPS 连接保护了 Mastodon 部署。
完成所有安装后,你现在可以设置 Mastodon 以支持联邦(federation)的规则。你还可以为你的 Mastodon 安装添加额外的安全层。